Final commissioning of inspection equipment for automotive metal parts
Next week, this metal parts inspection equipment will be sent to our customers in Los Angeles. Our colleagues are stepping up deep learning training for defective parts, so our customers can spend as little time on training as possible when using it.
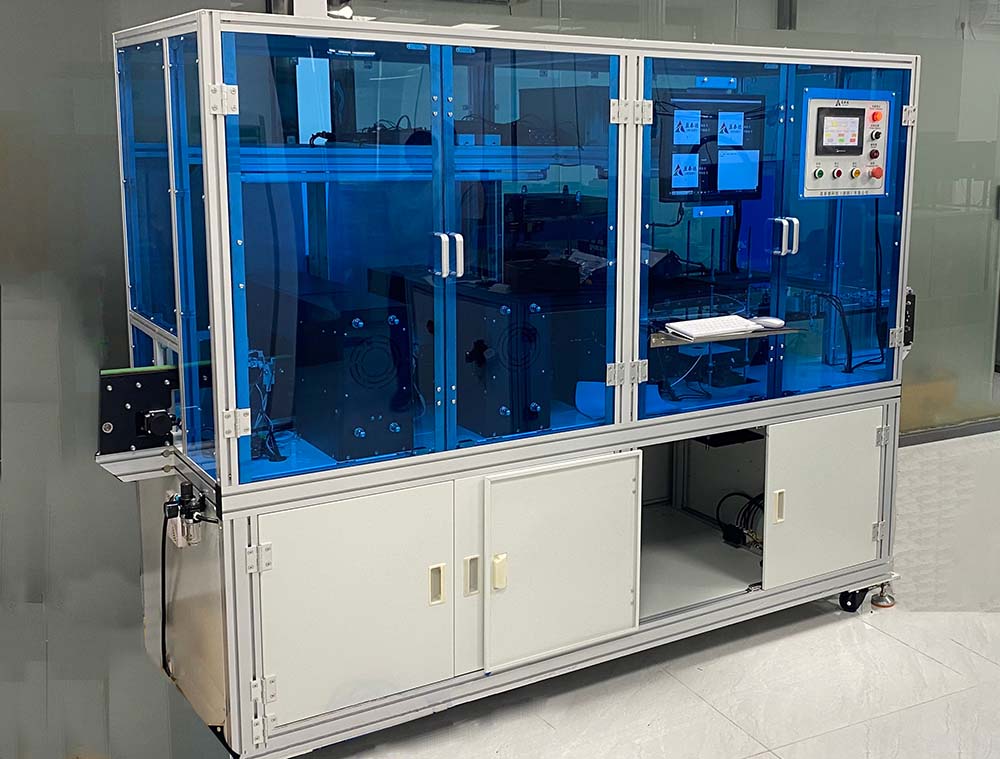
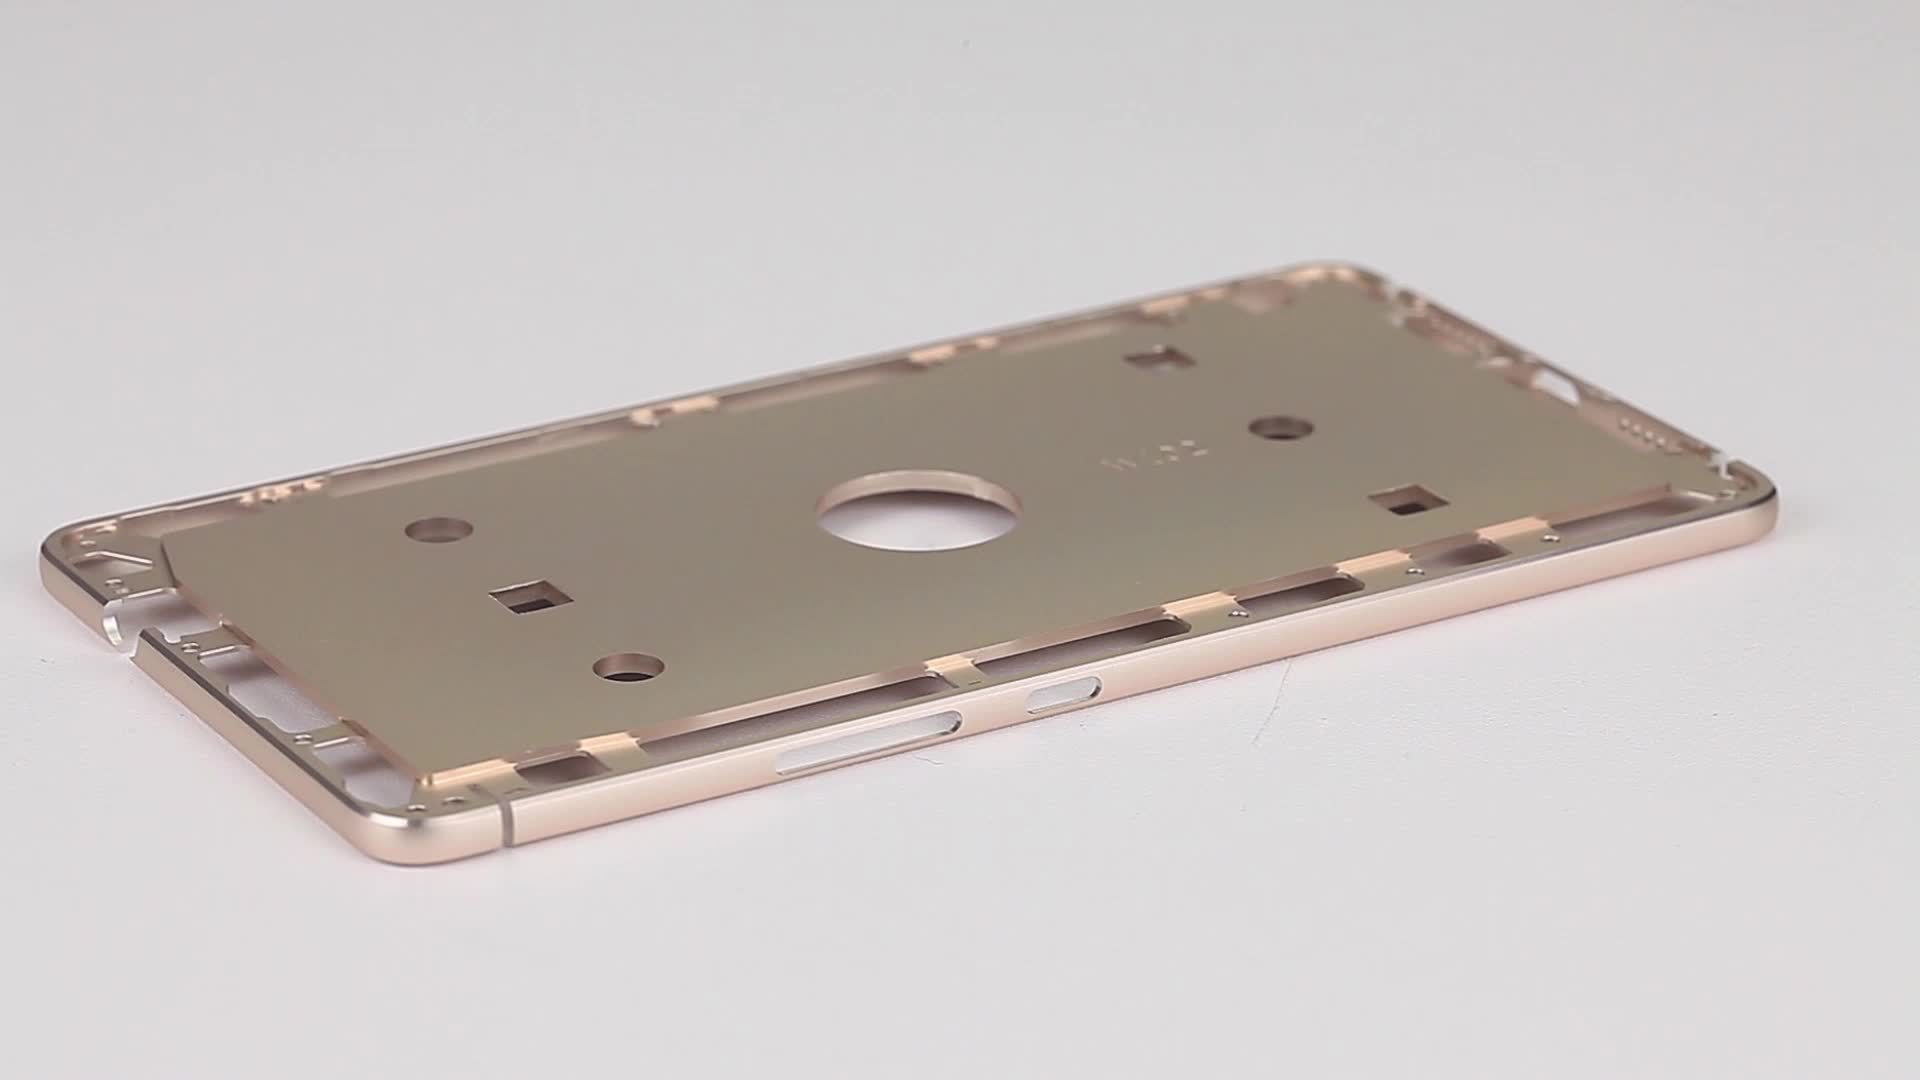
Over the past month, Intsoft Tech’s engineering team has worked closely with the customer’s production experts to conduct in-depth analysis of the customer’s production line, process flow, quality requirements, etc. Finally, suitable hardware equipment and image processing algorithms, as well as intelligent defect detection models based on deep learning, were selected to create a powerful visual sorting machine.
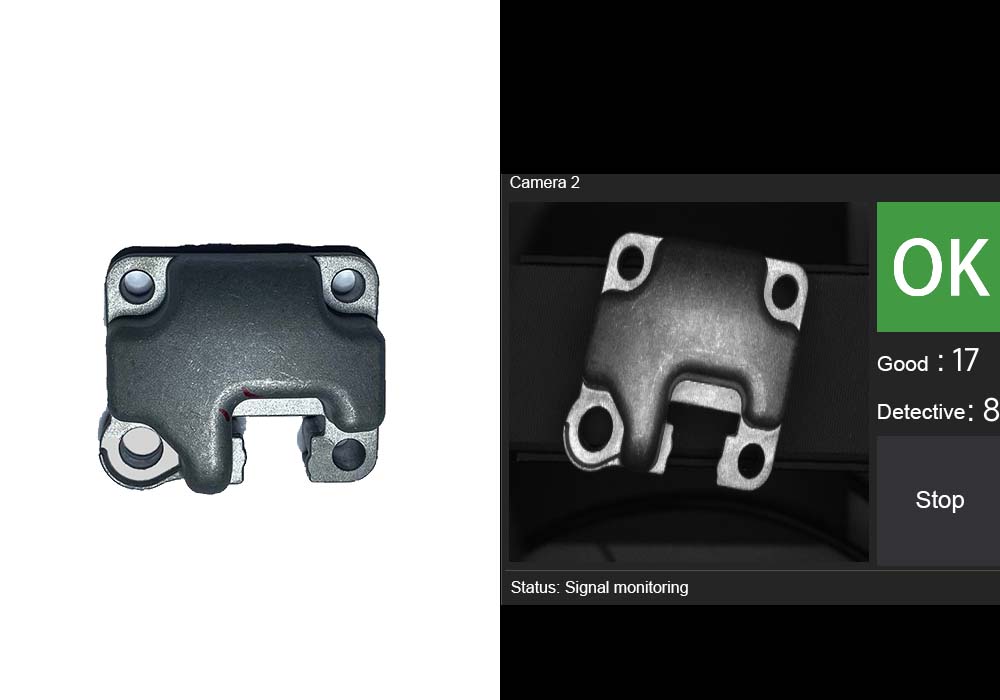
This system can monitor the production line in real time and automatically identify scratches, dents, burrs and other defects on the surface of various hardware parts. Intsoft Tech’s colleagues are currently performing the final stage of deep learning optimization and are conducting manual feeding tests on the equipment with the customer’s colleagues to ensure that the hardware system can operate efficiently and stably.
This machine can sort the defects of the four inspected surfaces into different boxes using machine vision to facilitate the subsequent repair of the defective surfaces.
The design principle of the machine
Good metal parts to be inspected are conveyed to the end of the assembly line through the conveyor belt. In the assembly line, four inspection positions are set up, and each inspection position is mainly equipped with CCD, light source, and rejection device. When the inspected metal passes through each inspection position, the CCD will send the image back to Intsoft Tech system. After a series of image processing and deep training model algorithm calculations, the system will send a rejection signal based on whether the metal part has defects. When the inspected metal part is conveyed to the reject position between the two inspection positions, the defective part will be catapulted to the defective case and the qualified part will be conveyed to the next inspection position. In the end, all the metal parts that can be conveyed to the end of the assembly line are good products.
Since it needs to inspect 4 surfaces and sort each surface, the inspection speed of this machine is slightly slow, about 70 pieces/min.
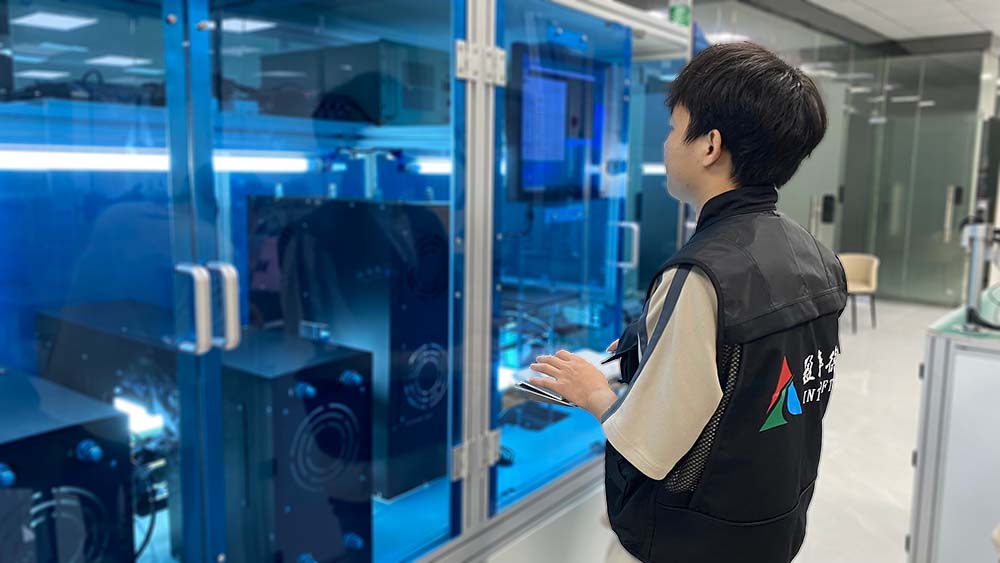
From the customer’s inspection requirements, to our inspection plan and equipment manufacturing, to our defect training, it took more than a month in total. We hope that our customers can receive the machine as soon as possible to improve production efficiency and save costs.


