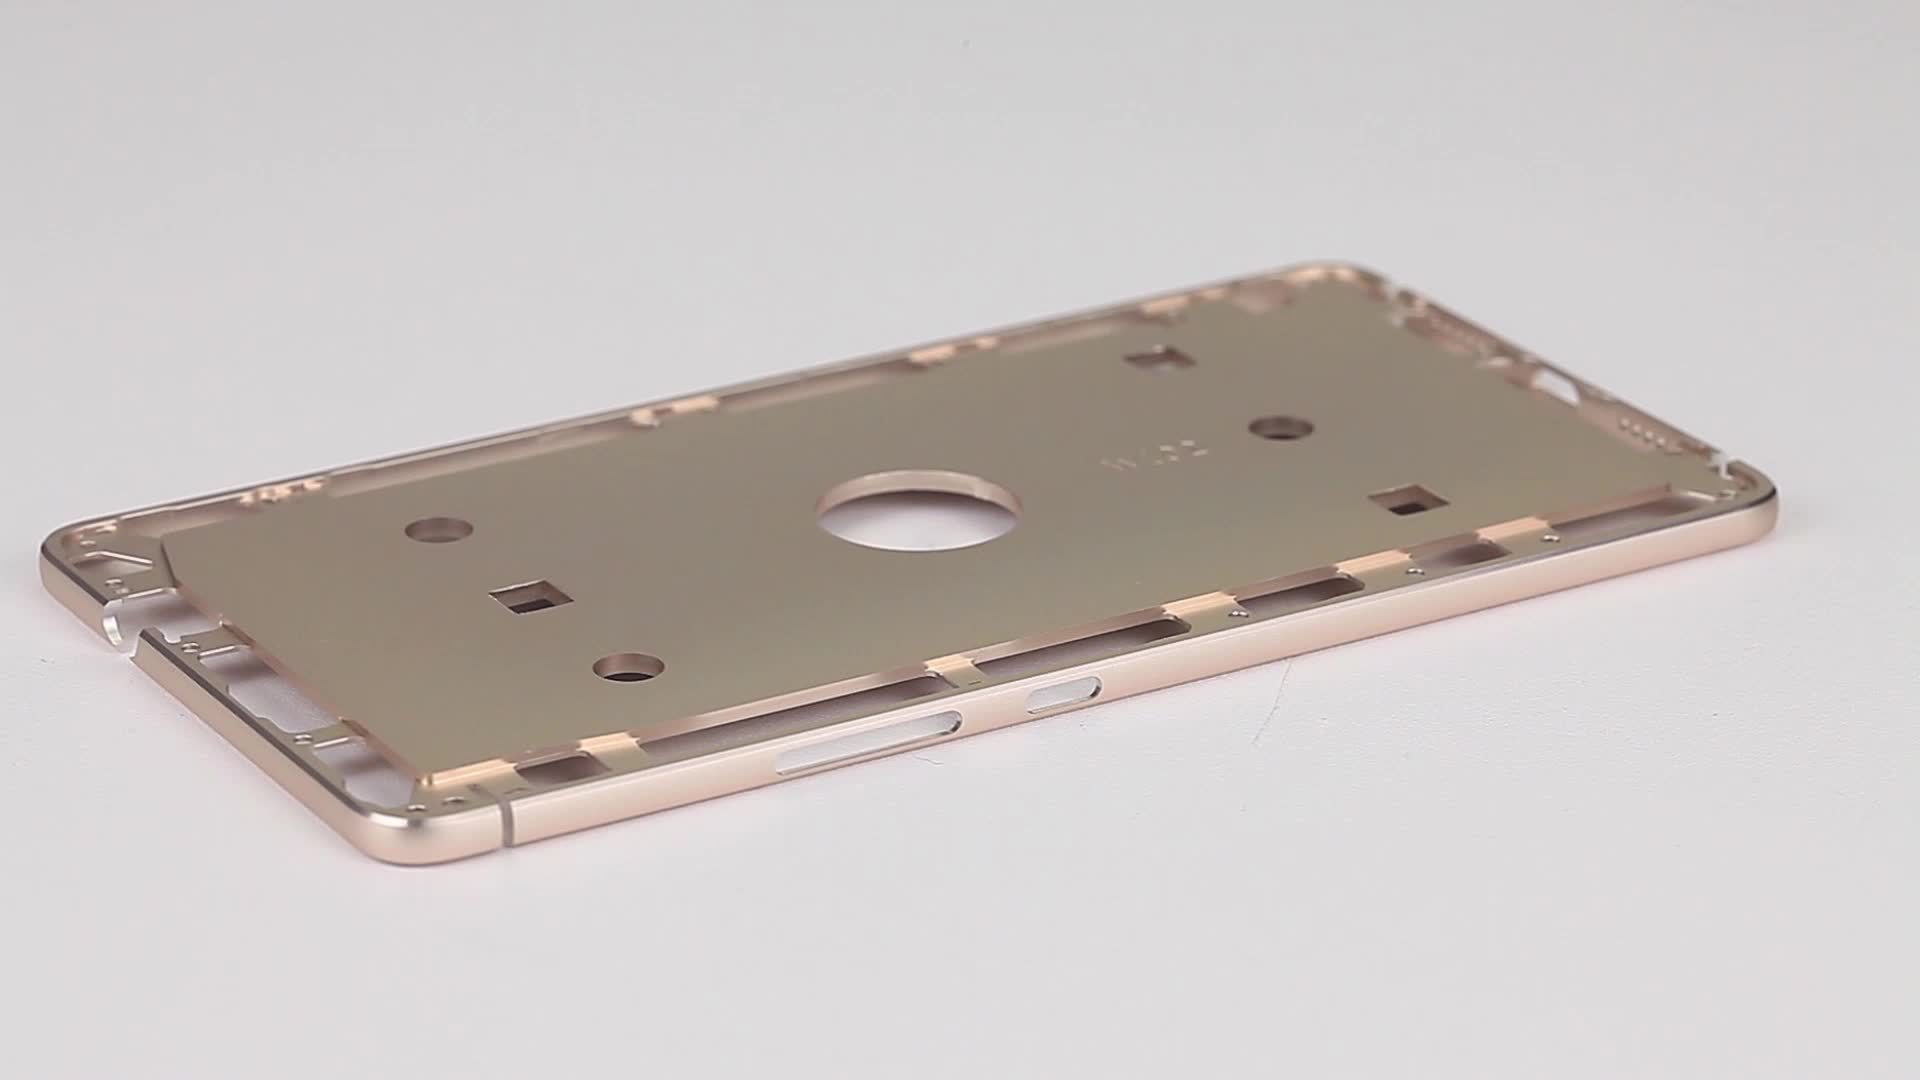
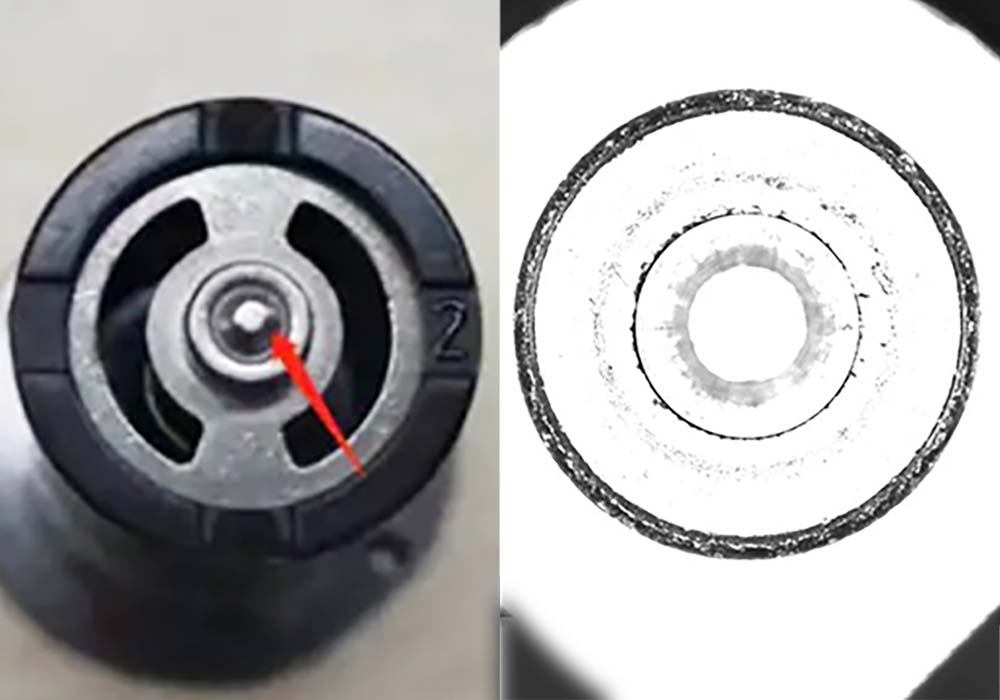
Magnetic cores are key components in power electronics and electromagnetic devices, and are widely used in various power transformers, inductors, motors, generators, electronic inverters, switching power supplies and other equipment. Magnetic cores can effectively regulate and convert voltage, concentrate and guide magnetic fields, improving equipment performance and efficiency. In addition, magnetic cores can also be used in fields such as magnetic storage devices and suppression of electromagnetic interference.
In the production and manufacturing process of magnetic cores, due to material characteristics and process complexity, some quality problems and defects are prone to occur, mainly including:
Material inhomogeneity: Due to the uneven distribution of the structure and composition of magnetic materials, local magnetic properties may be poor and hysteresis loops may not be ideal.
Manufacturing defects: such as cracks, pores, mechanical damage and other defects in processes such as die pressing, sintering and cutting.
Dimensional deviation: The size and shape of the magnetic core may exceed the allowable tolerance, affecting assembly and use.
Poor insulation performance: The insulating coating on the surface of the magnetic core is uneven, which may cause problems such as leakage and short circuit.
Therefore, it is very important to carry out the necessary inspections on the magnetic core.
Inspection requirement:
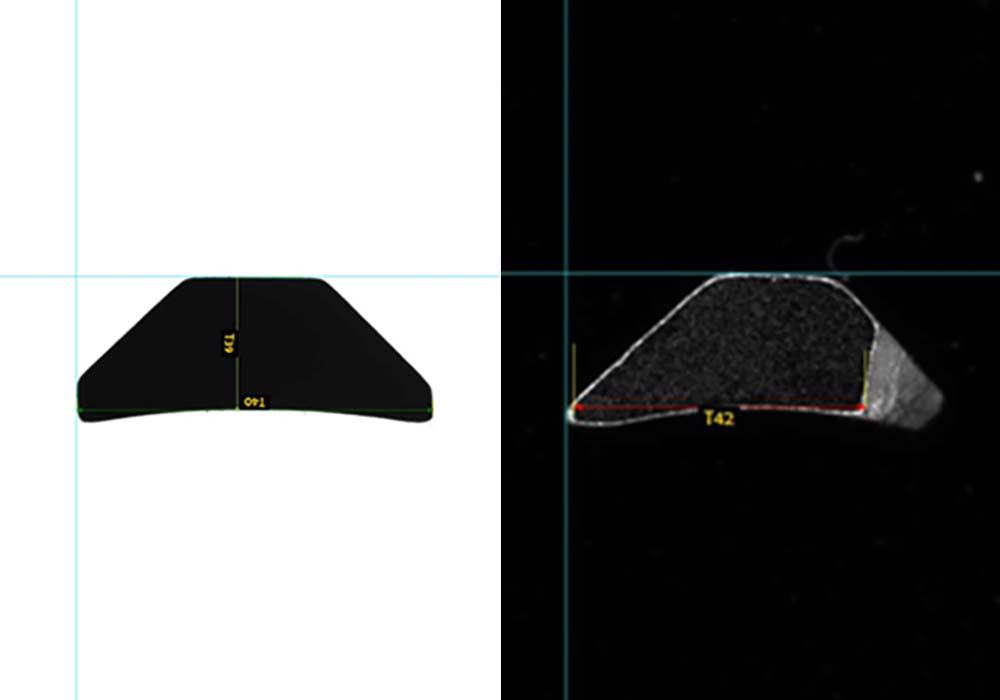
Magnetic core size: L2.49mm*W1.46mm*H0.96mm
Inspection item:
1. Bottom view backlight dimension measurement.
2. Bottom view positive light surface inspection.
3. Side view backlight dimension measurement.
4. Side view positive light surface inspection.
5. Top view positive light surface inspection.
Inspection machine structure
Overall dimension: 900*800*1850mm
| No. | Name | Model | Quantity |
| 1 | Visual inspection software | Intsoft customized | 1 set |
| 2 | Industrial computer | Intsoft customized | 1 set |
| 3 | Monitor | PHILIPS 19 “LCD monitor | 1 set |
| 4 | Industrial camera | Barsler industrial camera | 5 sets |
| 5 | Industrial lens | FA High Definition Optical Industrial Lens | 5 sets |
| 6 | Light source | Customized optical adaptive light source | 4 sets |
| 7 | Inspection Platform | Professional Optical Glass Carrier | 1 set |
| 8 | Servo Motor | Panasonic | 1 set |
| 9 | Control System | Intsoft customized | 1 set |
| 10 | Feeding device | Intsoft Tech customized | 1 set |
Inspection procedure
Bottom view inspection
Backlight inspection good product analytic image: OK —
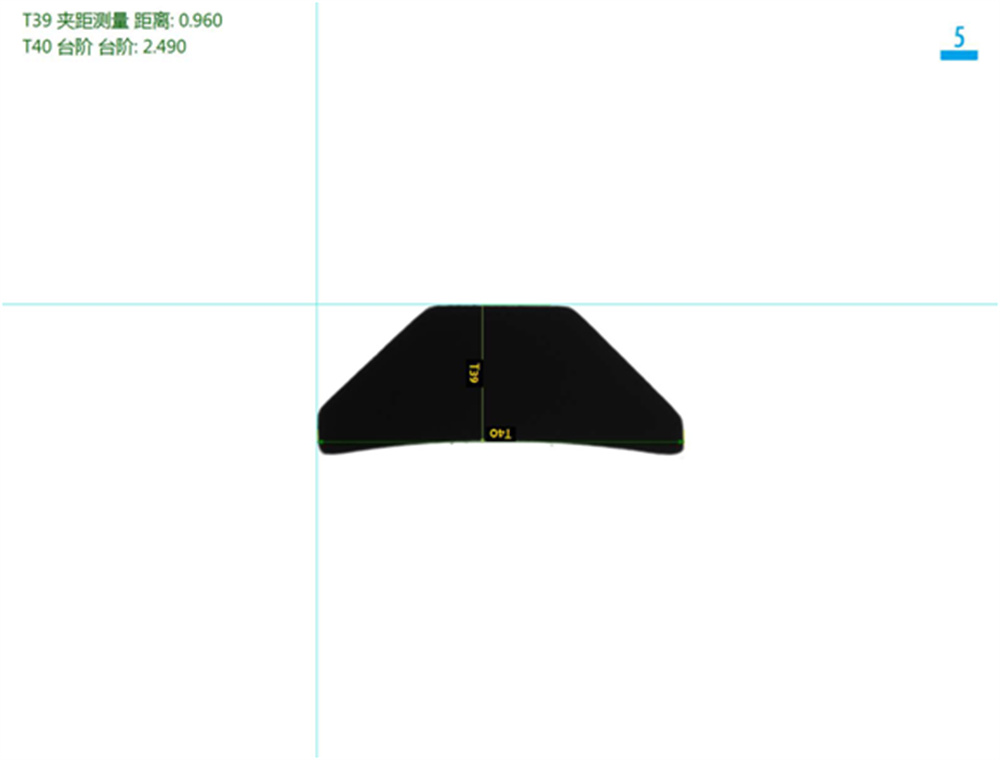
Backlight inspection defect product analytic image: NG — Cause: Size error —
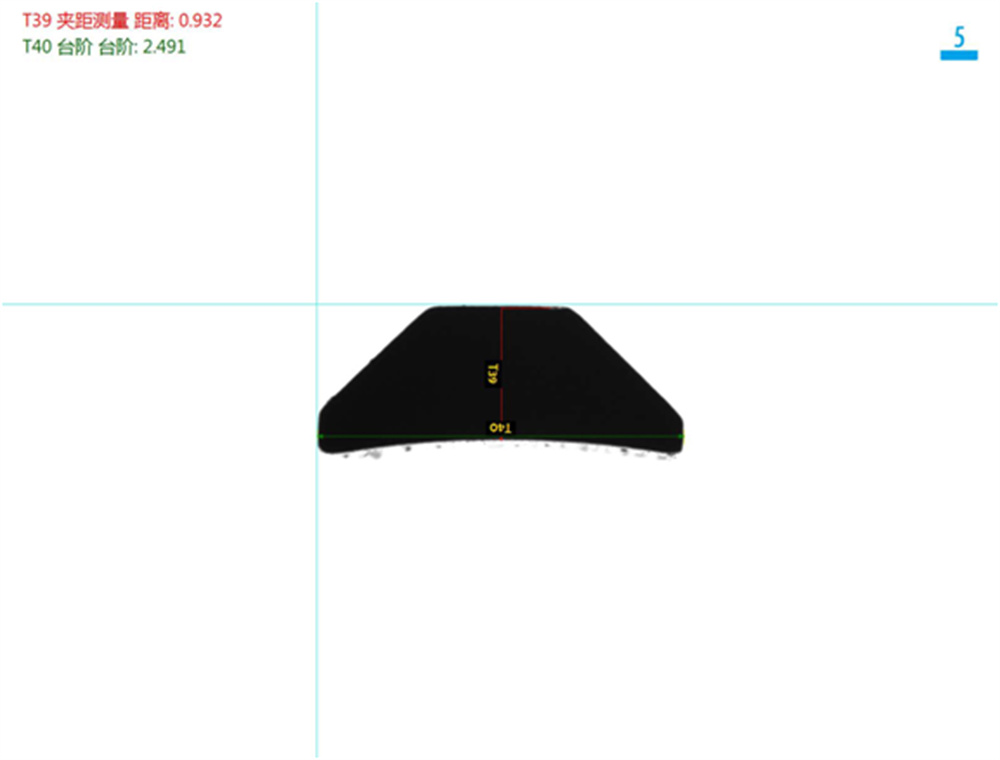
Positive light inspection defect product analytic image: NG — Cause: Uneven —
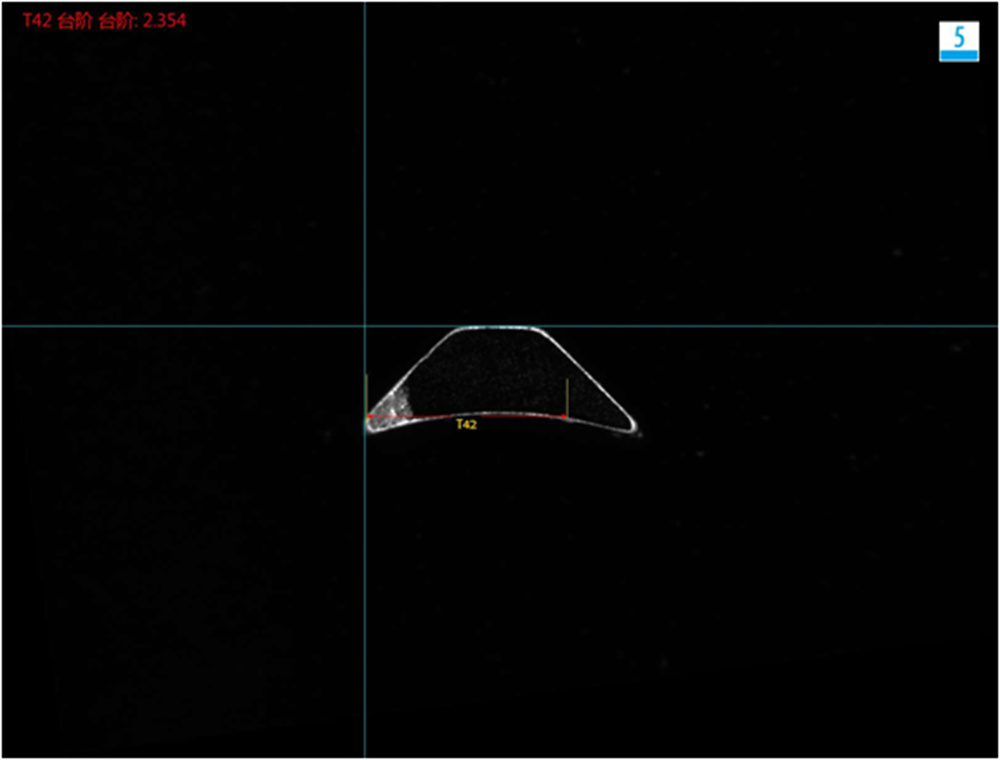
Side view inspection
Backlight inspection original image:
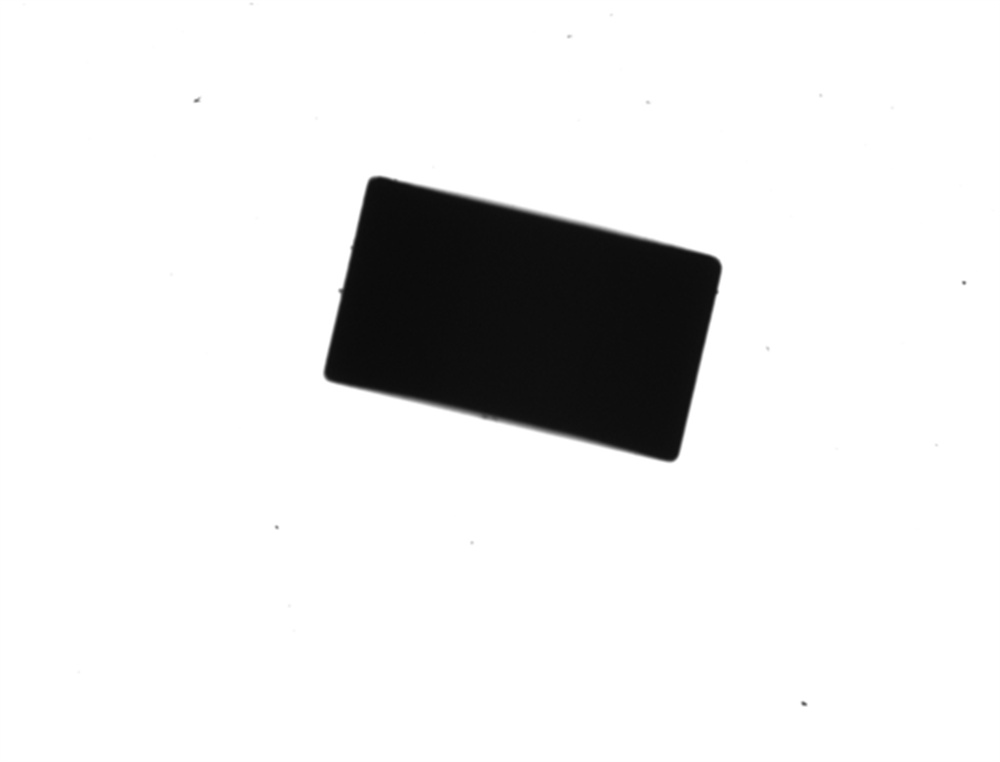
Backlight inspection good product analytic image: OK —
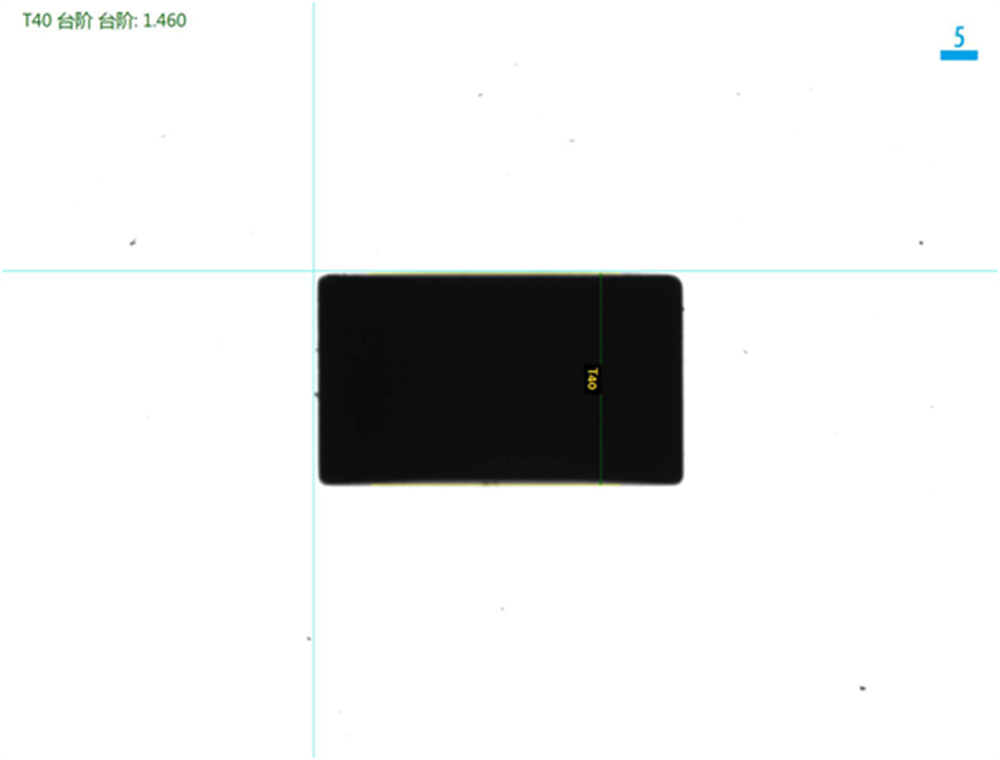
Backlight inspection defect product analytic image: NG — Uneven —
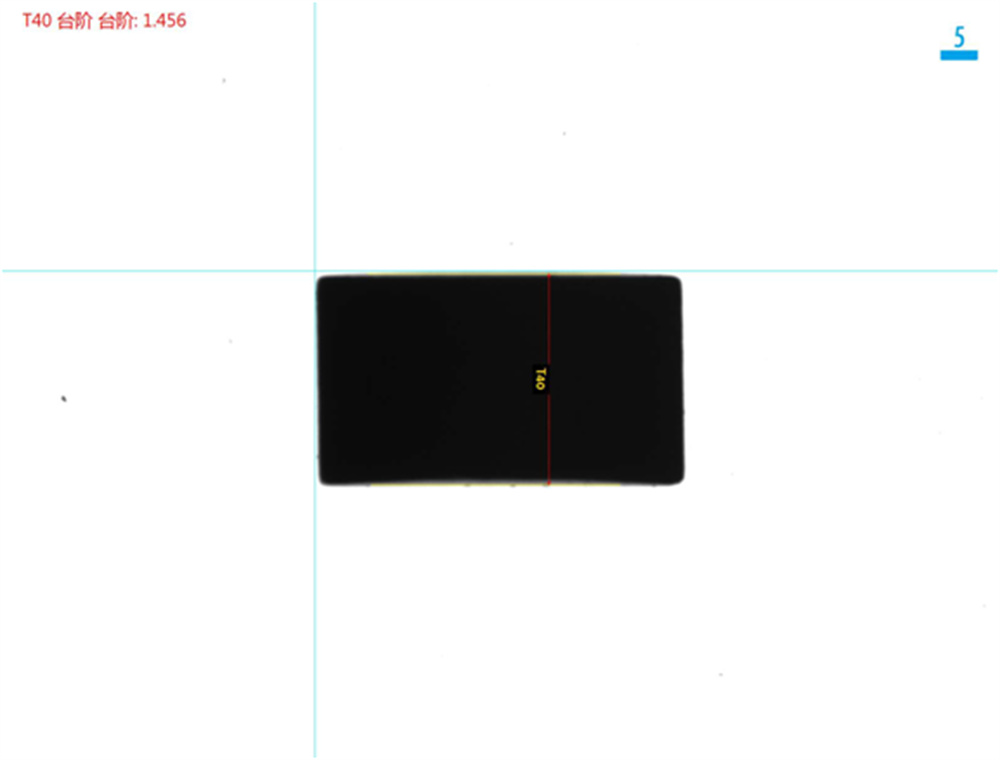
Positive light inspection good product analytic image: OK
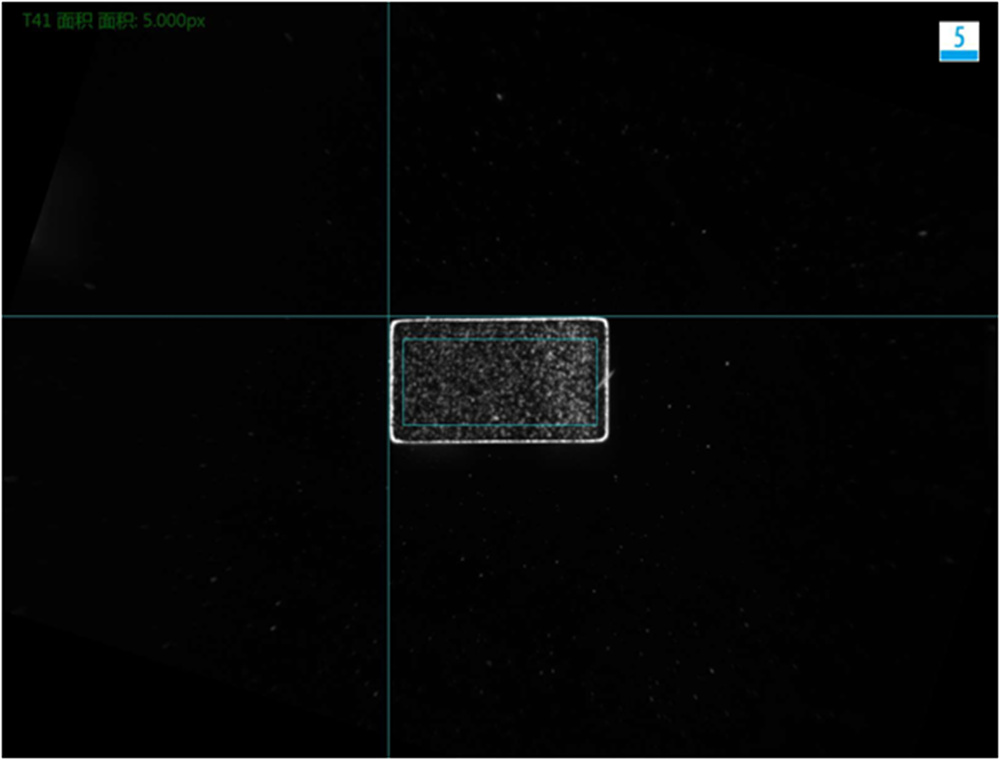
Positive light inspection defect product analytic image: NG — Cause: Missing corner
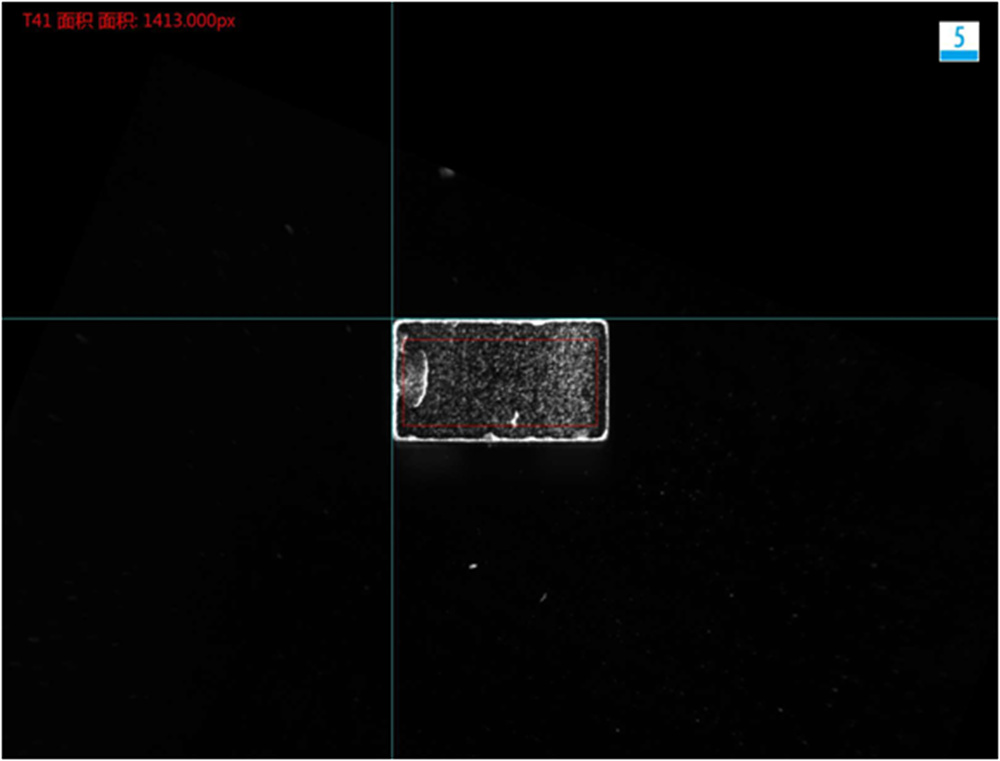
Positive light inspection defect product analytic image: NG — Cause: Poor plating
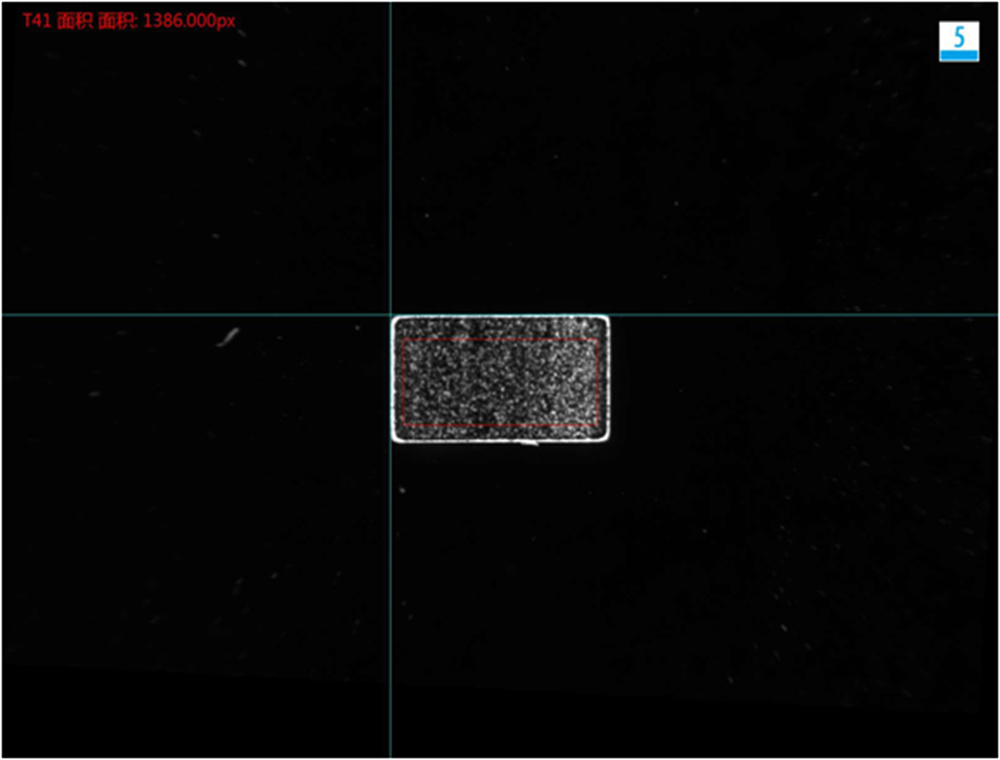
Top view inspection
Positive light inspection good product analytic image: OK
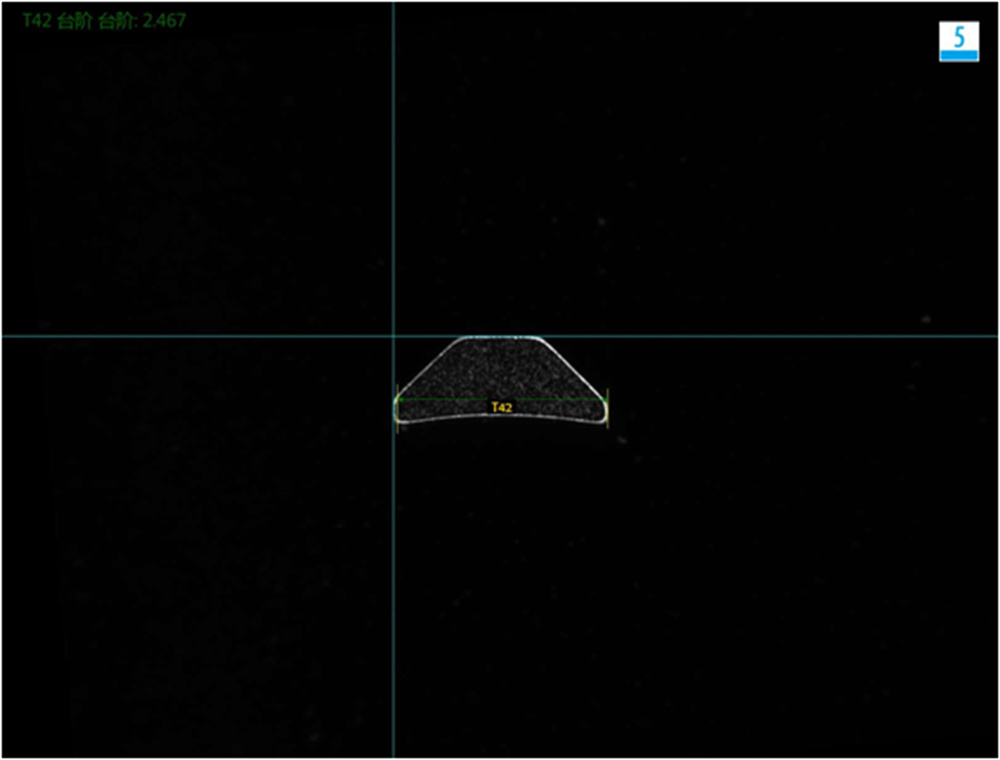
Positive light inspection defect product analytic image: NG — Cause: Missing corner
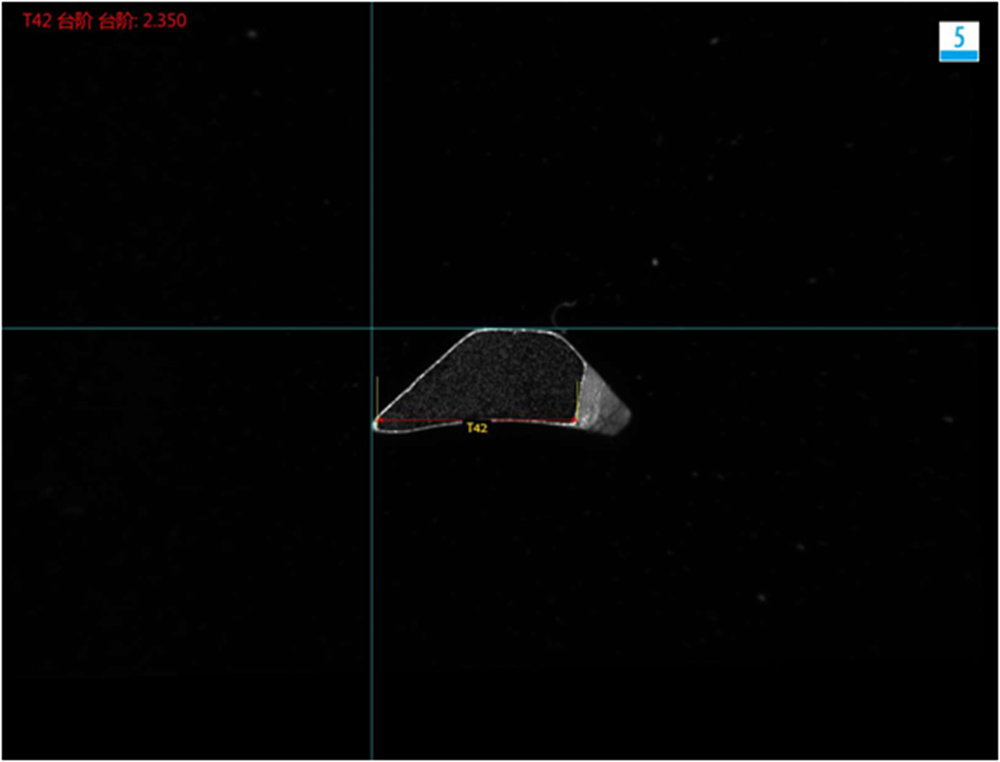
Machine vision system install requirement:
Inspection space for equipment placement: Intsoft Tech’s standard overall inspection equipment for the visual inspection system needs to ensure sufficient space for equipment installation.
Ambient temperature: 0-50 degrees Celsius.
Air humidity: below 90% RH.
Electronic interference: Provide a place with less electronic interference for the equipment.
Power supply: AC 220V, 50Hz, power consumption <1KVA.


