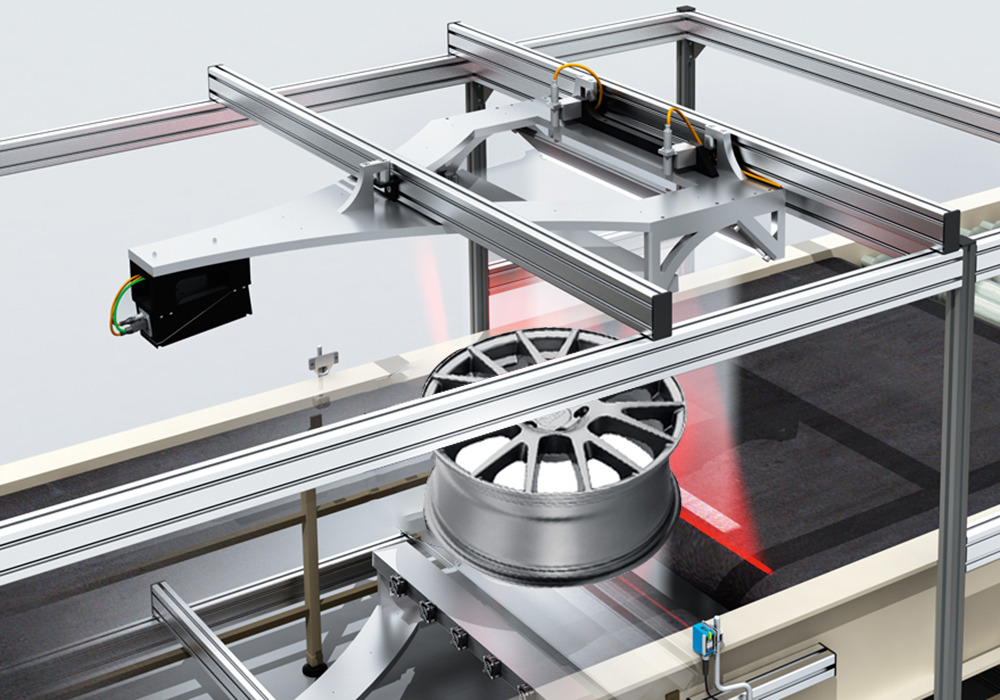
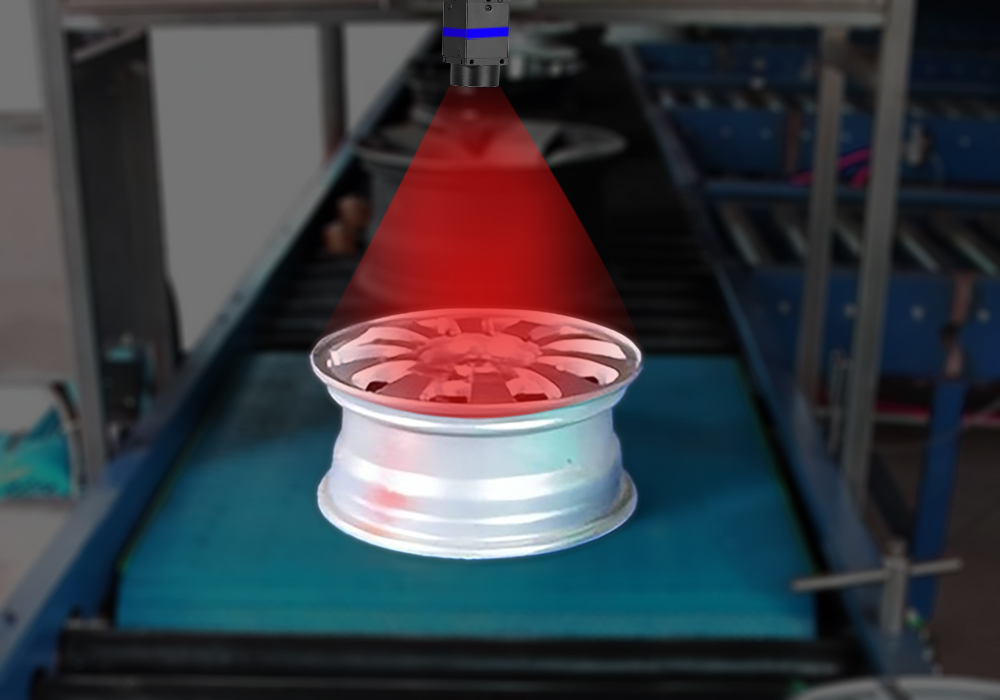
The auto rim machine vision inspection system is a crucial tool for manufacturers in the automotive industry. It ensures consistent, high-quality production by eliminating the variability and potential for human error inherent in manual inspection processes. This automated system can perform comprehensive evaluations of every rim, checking for size, shape, color, and surface defects with unparalleled speed and accuracy. The data-driven insights generated by the machine vision system enable manufacturers to optimize their processes, reduce costs, and maintain a strong competitive advantage. By investing in this advanced technology, automotive wheel producers can deliver reliable, defect-free products, build customer trust, and stay ahead of the competition in a rapidly evolving market.

The following is a case study of machine vision inspection of automotive rims designed by Intsoft Tech.
Inspection content:
Identify and classify by features such as wheel hub color (black/silver/red/orange, etc.), center hole size, bolt hole distance center hole size, number of heat dissipation holes, and wheel hub characters.
Inspection of environment:
1. Production line conveyor belt width: 600mm
2. Wheel hub height range: 3.5-10 inches
3. Wheel hub diameter range: 13-18 inches
Inspection speed:
More than 3 seconds per piece.
Visual system inspection accuracy
1. Camera resolution: 2500*2000 pixels
2. Field of view: X direction: 1000mm Y direction: 750mm
3. Video accuracy: 1000/2500 = 0.4mm/pixel.


