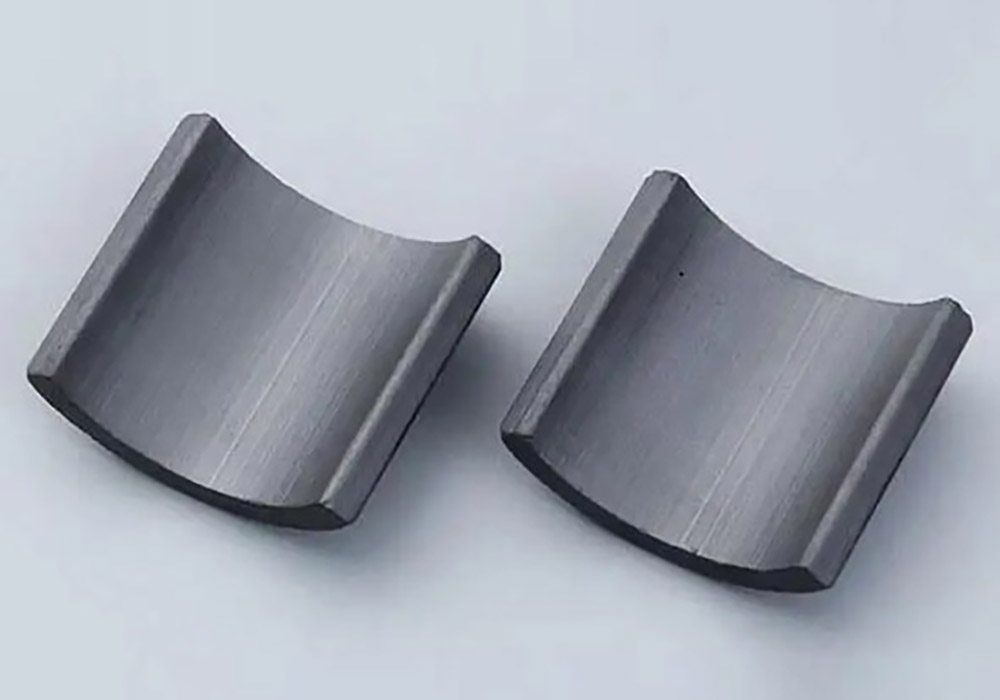
In the fast-paced world of manufacturing, quality control is a critical aspect that can make or break a company’s reputation and success. One area where machine vision is having a significant impact is in the inspection and measurement of automotive components, particularly brake pads and their associated hardware.
Brake Pad Flatness: Ensuring a smooth ride
Brake pads are an essential component of an automotive braking system, responsible for converting the kinetic energy of a moving car into heat, allowing the car to slow down and stop. However, for the brakes to function effectively, the brake pads must maintain a precise level of flatness. Any deviation from the target flatness can lead to uneven wear, reduced braking performance, and potentially dangerous situations on the road.
This is where machine vision comes in. Advanced industrial camera systems and computer vision algorithms can now accurately measure the flatness of brake pads with unparalleled precision. By capturing high-resolution images of brake pads and analyzing their surface topography, manufacturers can identify any irregularities or deviations from the desired flatness specification. This allows them to immediately correct any problems, ensuring that only the highest quality brake pads make it to the assembly line and ultimately to the customer’s car.
3D Vision for Pin Height Detection
Alongside the brake pads, the hardware that secures them in place, such as mounting pins, also plays a crucial role in the overall braking system. These pins must be of the correct height to maintain proper alignment and effectively support the brake pads. Inaccurate pin heights can lead to premature wear, compromised braking performance, and even potential safety hazards.
This is where 3D machine vision comes into the picture. Using advanced 3D imaging techniques, such as laser triangulation or structured light, manufacturers can precisely measure the height of mounting pins. These 3D vision systems capture detailed depth information, allowing them to accurately measure pin heights and ensure they fall within specified tolerances. This level of precision is simply not achievable with traditional manual inspection methods, making 3D machine vision an invaluable tool in the quality control process.
Inspection process
3D laser imaging and 3D image analysis technology are used to automatically detect the flatness and pin height of brake pads, with a detection accuracy of 0.01mm and a detection speed of more than 1,000 pieces per hour.
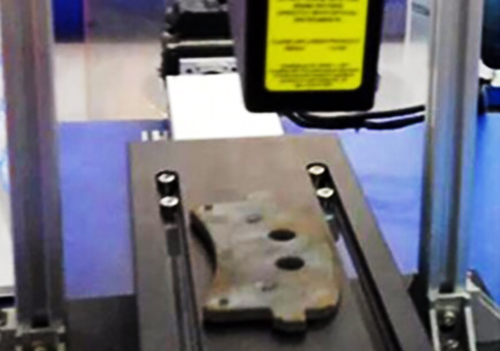
Brake pad flatness detection system
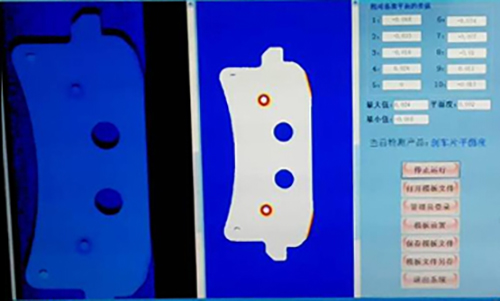
The Bigger Picture: Boosting Efficiency and Reliability
Implementing machine vision for brake pad flatness and pin height detection is just the tip of the iceberg when it comes to the transformative impact of this technology in the automotive industry. By automating these critical inspection processes, manufacturers can achieve several key benefits:
Improved Quality: Consistent and accurate measurements ensure that only the highest quality components make it to the final product, enhancing the overall reliability and performance of the vehicles.
Increased efficiency: Automated inspection with machine vision eliminates the need for time-consuming manual inspections, allowing production lines to operate at a faster pace and reducing the risk of human error.
Cost savings: By catching defects early in the manufacturing process, companies can avoid the costly consequences of faulty components making it to the customer, such as product recalls and damage to brand reputation.
As the automotive industry continues to evolve, the adoption of machine vision for quality control is poised to become an integral part of the manufacturing landscape. By harnessing the power of this technology, automotive manufacturers can raise their quality standards, optimize their production processes, and ultimately deliver safer, more reliable vehicles to consumers.


