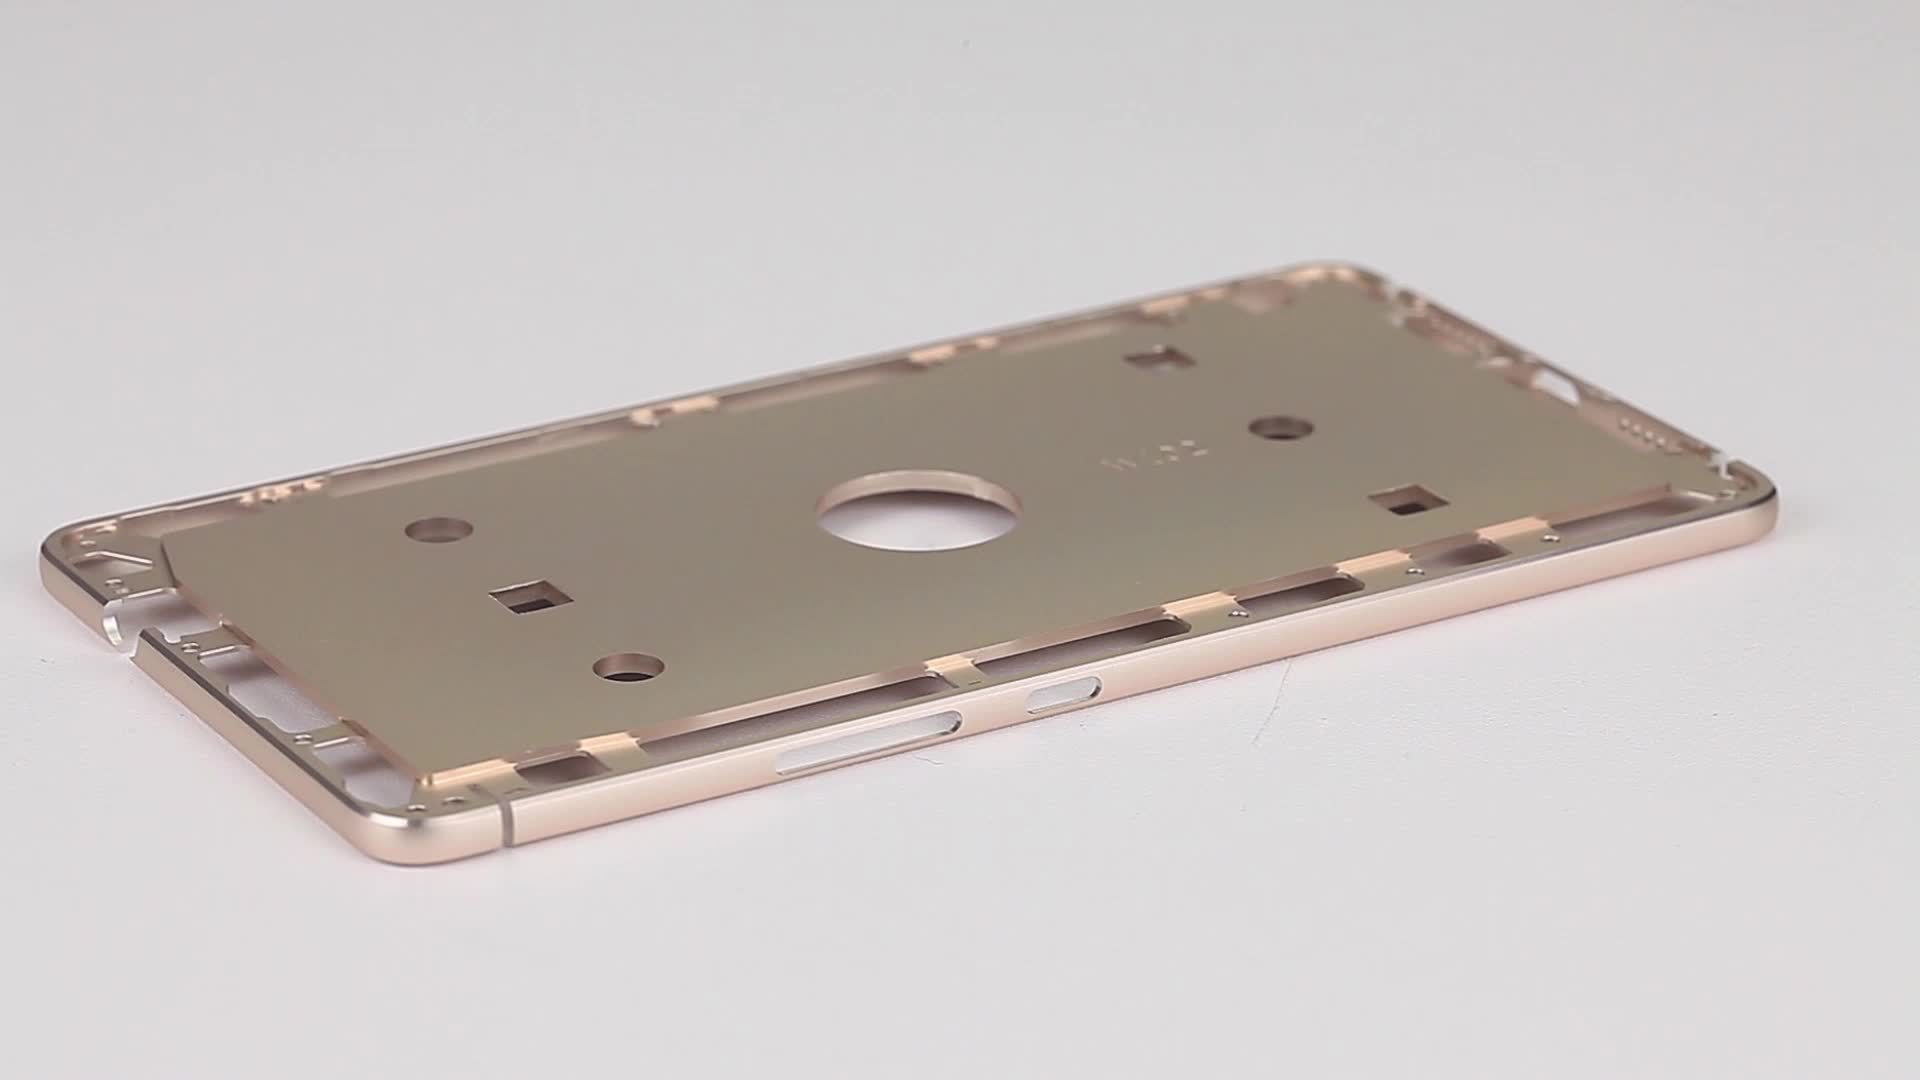
Intsoft Tech’s customer, an automotive parts supplier, customized a highly automated machine vision inspection system to detect appearance defects in aluminum pump covers after production, ensure product flatness meets strict quality standards, and provide customers with reliable sealing parts.
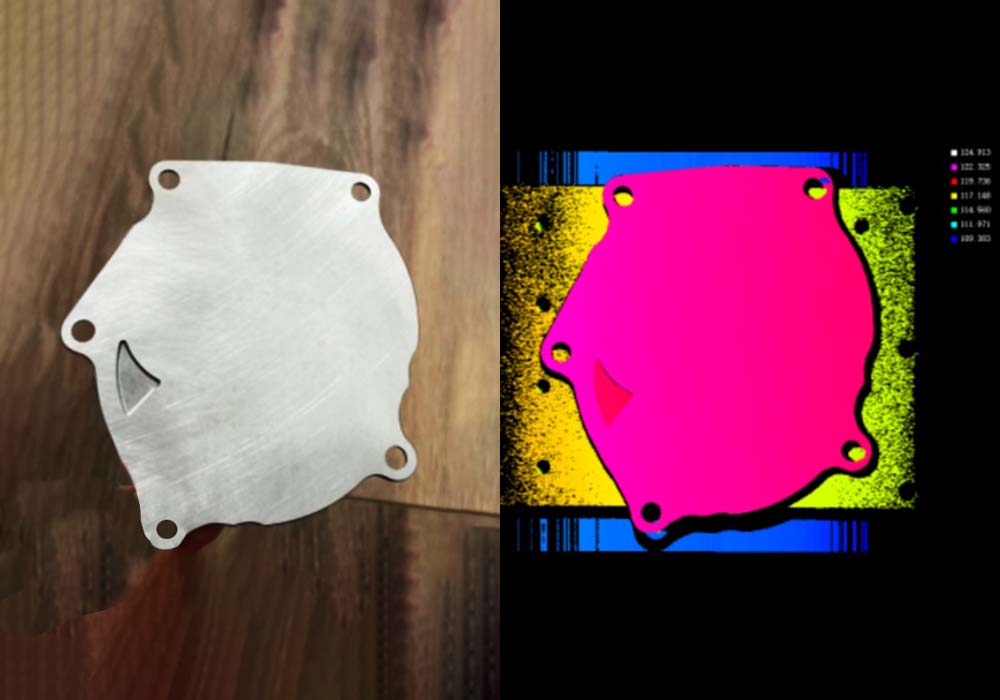
Inspection process
Automatic loading
Pump cover parts automatically enter the inspection area through the conveyor line, and are placed on a specially designed inspection table by a robotic arm.
3D scanning
The inspection area is equipped with multiple high-resolution 3D scanning cameras, which can capture high-definition three-dimensional image data of the pump cover surface at an extremely fast speed. The camera uses structured light technology to obtain micron-level surface height information.
Image processing
The specially developed image processing algorithm immediately analyzes the scanned three-dimensional data and accurately measures the flatness deviation of the pump cover surface. The algorithm can automatically identify the key feature edges of the pump cover and calculate the maximum height difference.
Results display
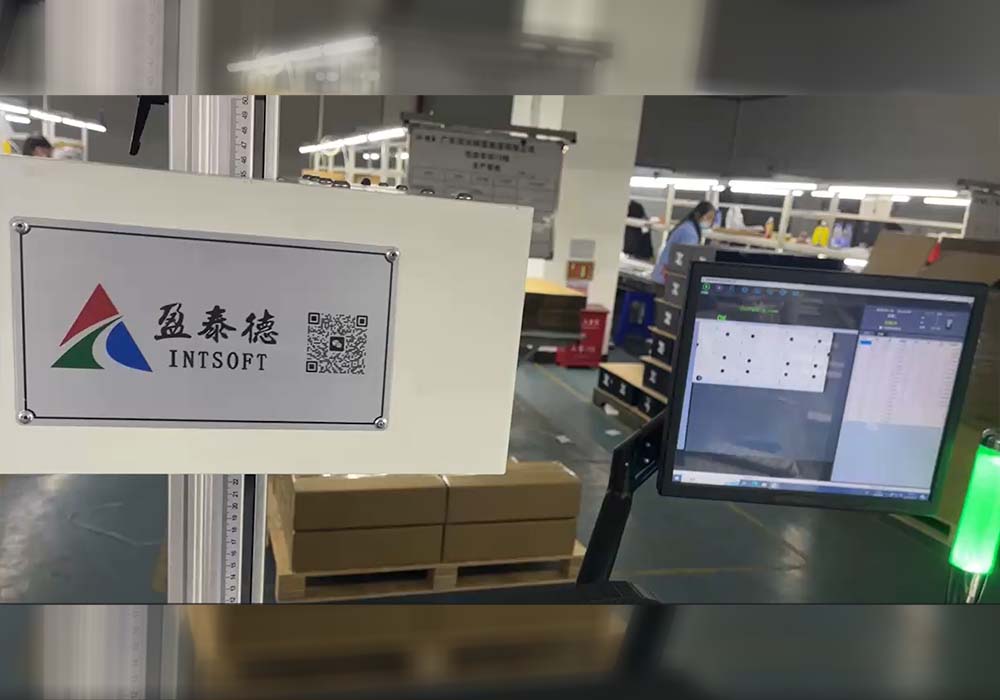
The inspection results are displayed in real time on the touch screen of the central control system, intuitively reflecting the flatness status of the pump cover. The operator can view the measurement data of each inspection point at any time.
Qualified judgment
If the flatness deviation exceeds the preset allowable range, the system will automatically isolate the pump cover in a special area and wait for further manual processing. Qualified products will continue to enter the assembly process.
Data preservation
The data of the entire inspection process, including 3D scanning images, measurement results, etc., will be saved in real time in the cloud database, providing valuable analysis basis for production optimization.

