Project: 3D vision mobile phone case defect detection
Category: Machine vision product application
Product description:
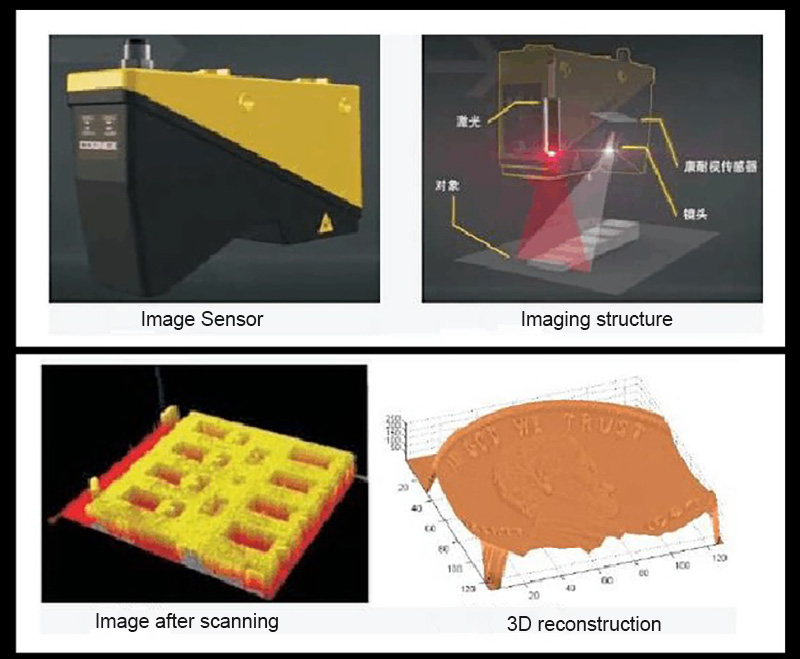
In the field of machine vision, 3D vision is closer to the human eye. In addition to seeing objects, it can also obtain depth information of objects and can realize multi-dimensional positioning and recognition, so it is more popular. 3D vision technology integrates artificial intelligence to allow industrial robots to think like human brains to perform high-precision and complex work.
Traditional imaging systems are based on two-dimensional planes, so traditional visual systems put problems that need to be detected or measured on a flat image to solve; but the real world is three-dimensional, and traditional two-dimensional visual systems have many problems that are difficult to achieve, such as built-in pins, obscured parts, description of curved surfaces, etc. But using 3D visual inspection systems can easily handle them.
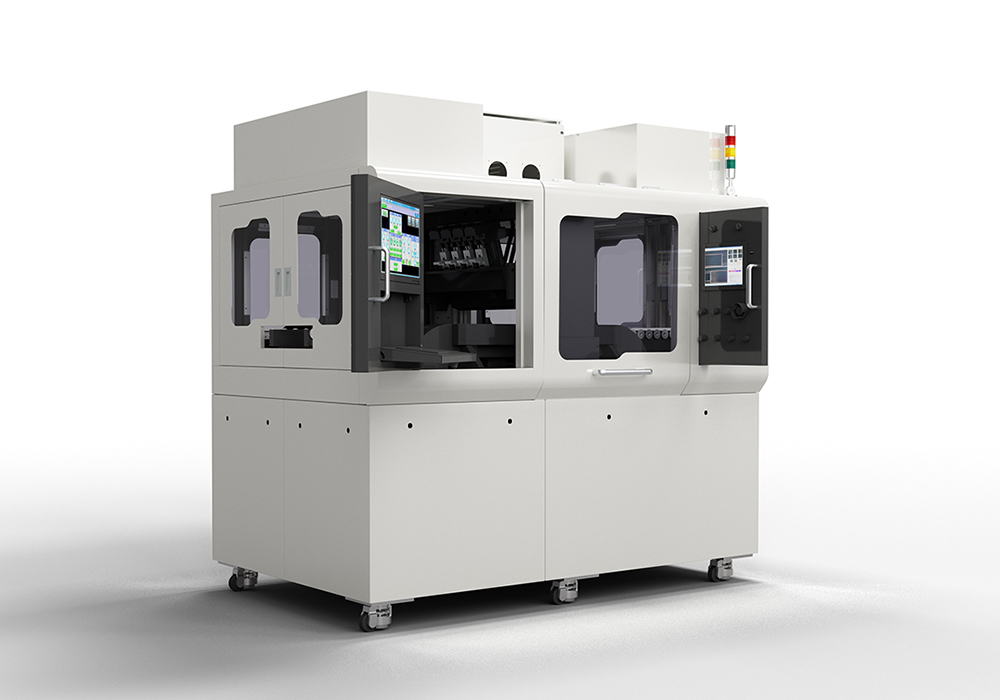
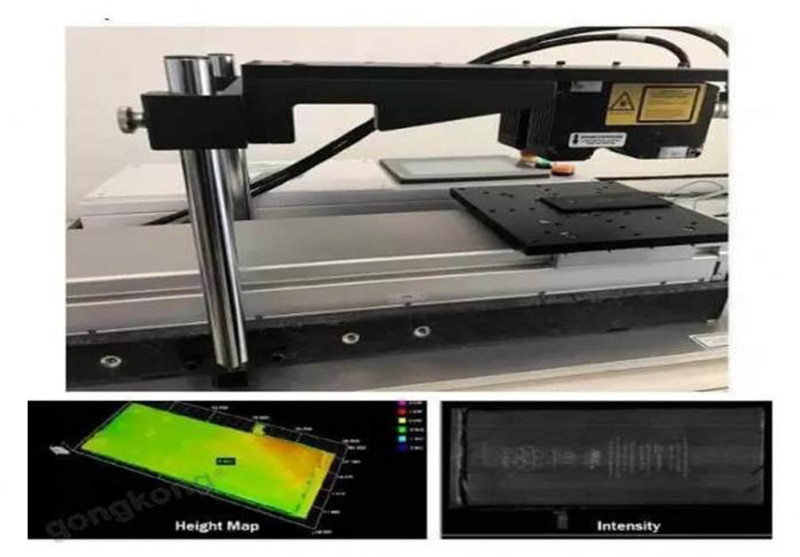
The imaging subsystem of the 3D visual inspection system is equivalent to a row of point laser rangefinders to obtain the cross-sectional data of the object being measured: the analysis subsystem reconstructs the three-dimensional information of the entire object being measured through a set of cross-sectional data obtained synchronously with the motion system encoder. The system hardware supports micron precision. In addition, our 3D visual inspection system software leverages hardware performance, 3D modeling, 3D spatial analysis, and provides various 2D analysis tools and third-party analysis software interfaces.
Solution Analysis
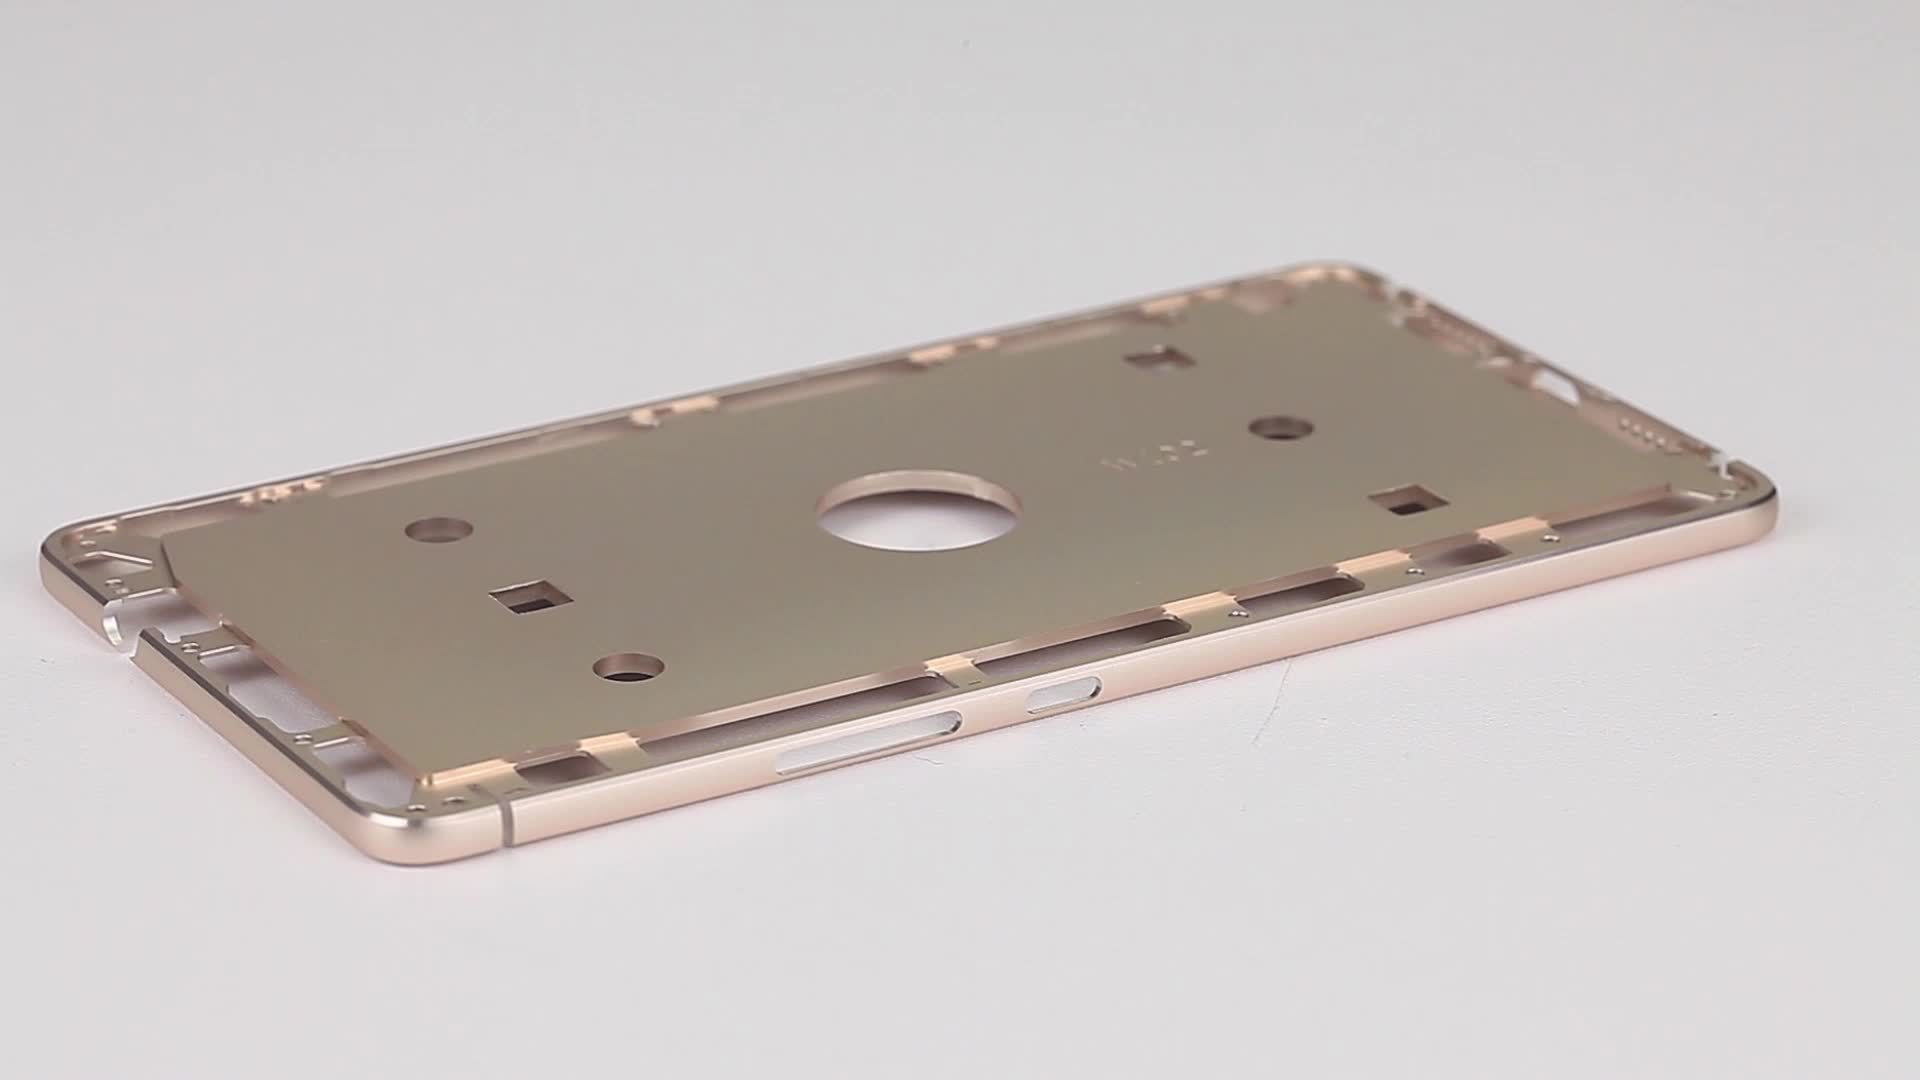
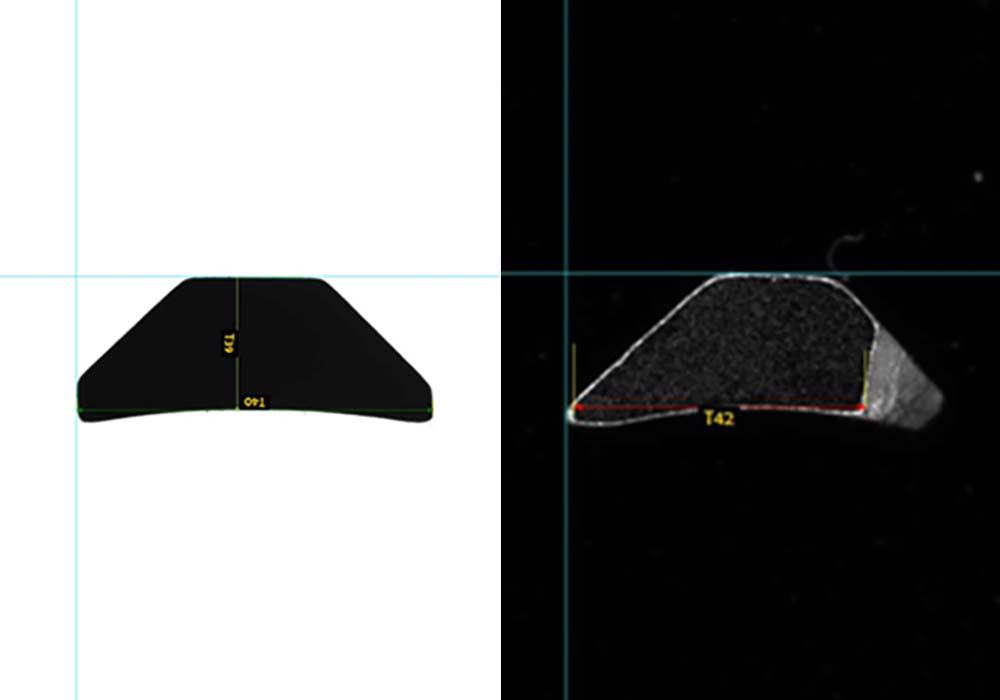
Internal surface detection of mobile phone cases
Intsoft Technology can well image the contour and shape of mobile phone cases. The algorithm used is the flatness measurement tool integrated within Intsoft Technology, which provides good raw data for measuring the surface of mobile phone cases.
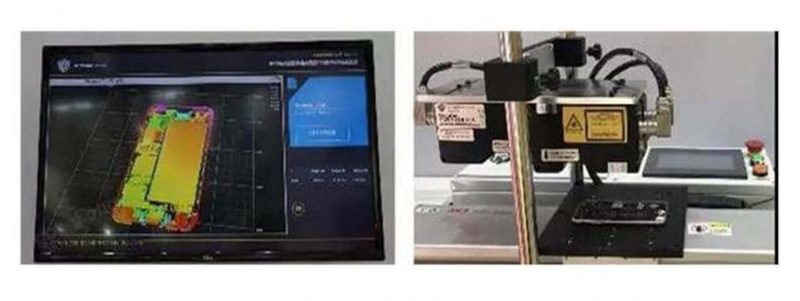
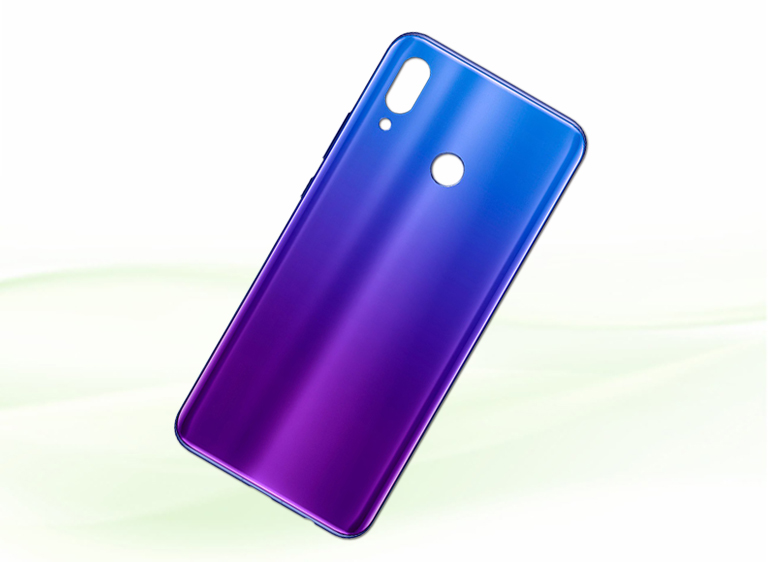
Glass inspection on the back of mobile phone
Scanning shiny or reflective surfaces, set up three sensors to form a multi-sensor measurement network, and stitch the data into a single 3D image after scanning. Multi-sensor calibration function. After calibration, synchronize scanning and stitching, flatness 10 times static repeatability 0.002mm
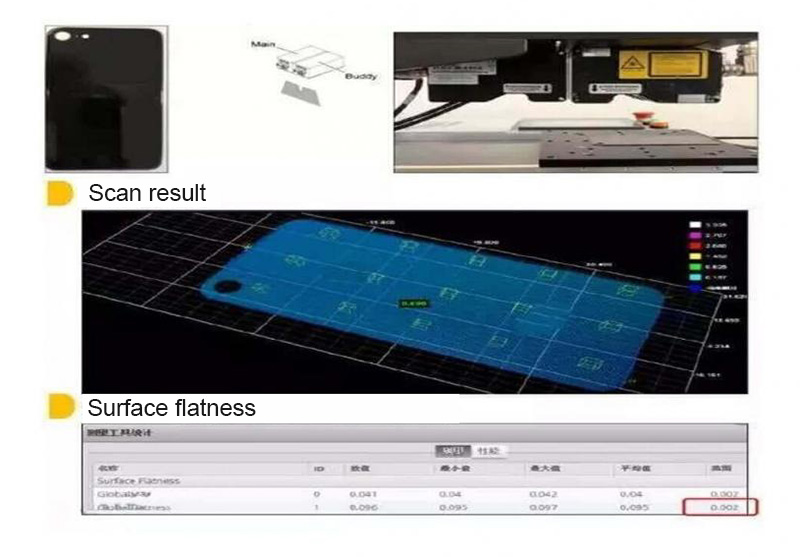
Built-in battery detection
By splicing 2 sensors, surface flatness is measured and possible dents are detected. Dual sensors detect the target object, minimize the scanning blind area, increase the scanning field of view, and maintain high resolution over a wide field of view. Flat repeatability 10 times 0.002mm.
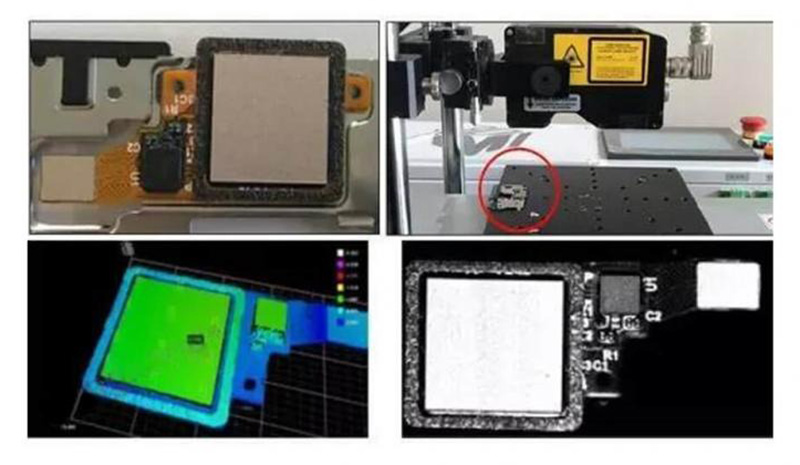
Fingerprint recognition module
