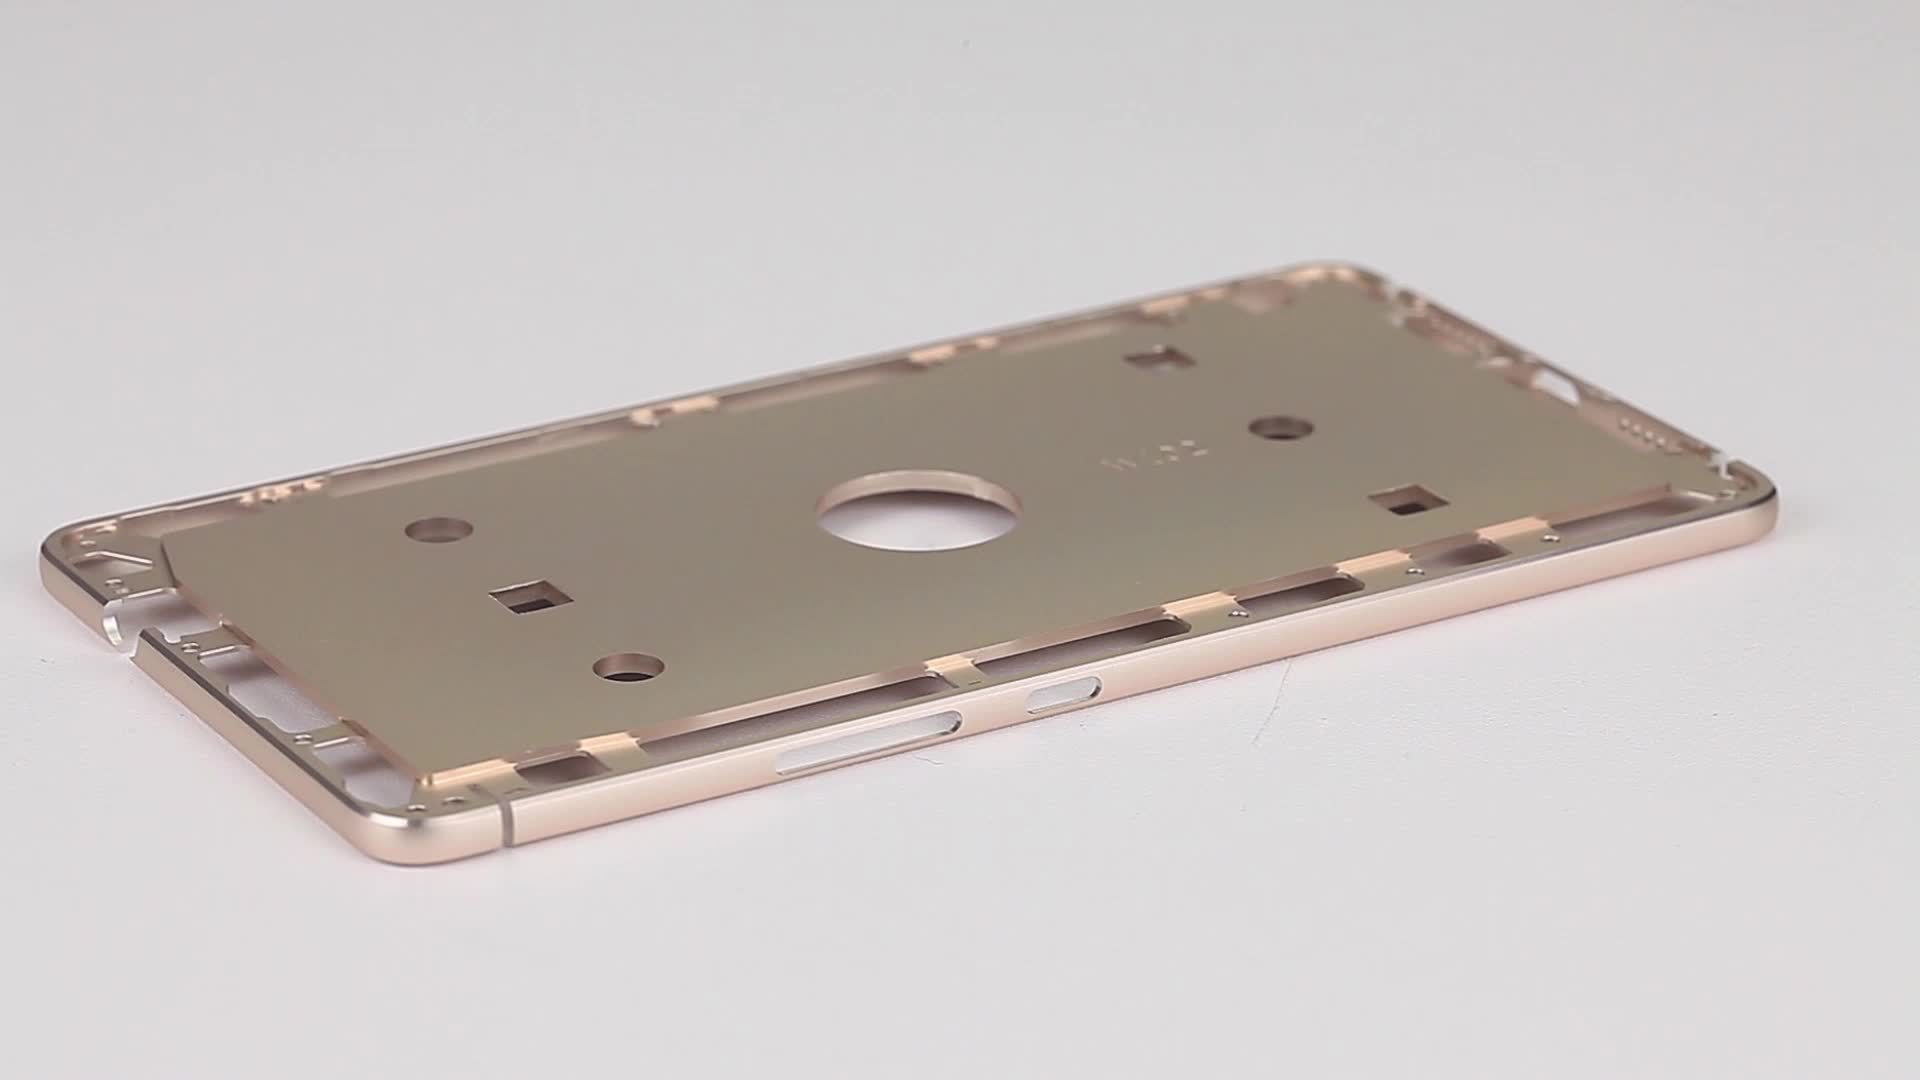
The qualified rate of sheet metal parts is relatively low during production, because the shape of sheet metal is more variable, and the bending angle, length and shape of each part are different. However, sheet metal is often used in the key parts and connections of some parts. A defective sheet metal will cause failure of the entire part. Therefore, it is a very necessary step to detect defects in sheet metal before leaving the factory to ensure that the quality is qualified.
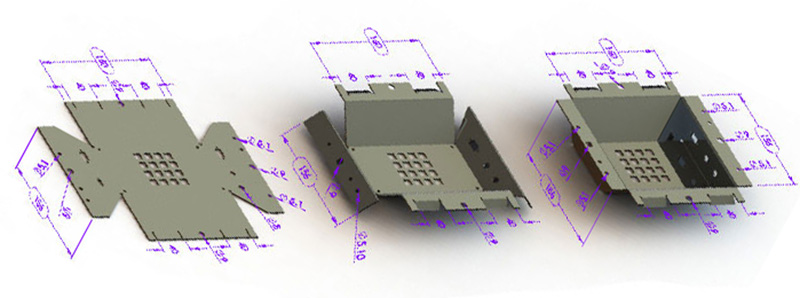
Detected requirements:
3D vision measurement for sheet metal
Typical defects on sheet metal:
- Missing holes.
- Inaccurate bending angles.
- Incorrect length of a certain part.
- 5. Welding slag left
Inspection specification:
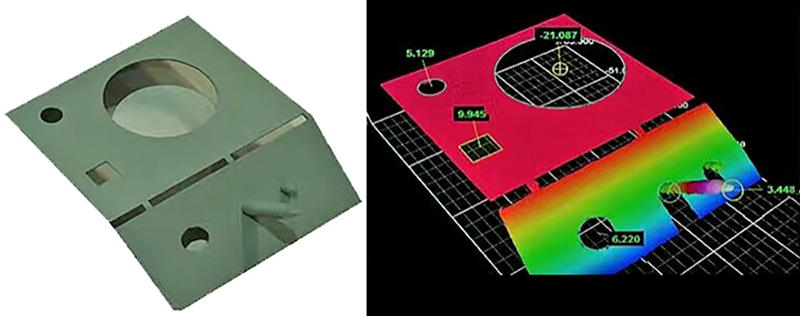
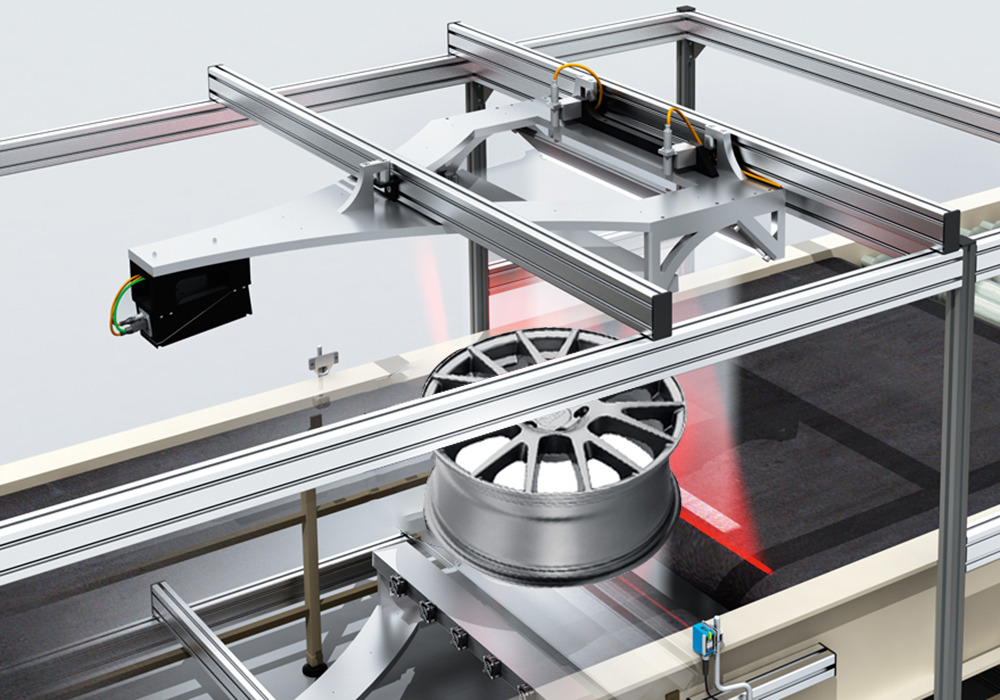
Intsoft Technology’s 3D visual measurement system collects 3D information from objects through intelligent structured light profile sensors. Machine vision software will accurately compare the collected image information with the reference image. When a large deviation is found, the acquisition system will detect it in time. The signal indicator light and monitoring display screen of the 3D visual measurement system can prompt the operator, allowing your company to quickly correct metal sheet errors and improve product quality.
Detecting process
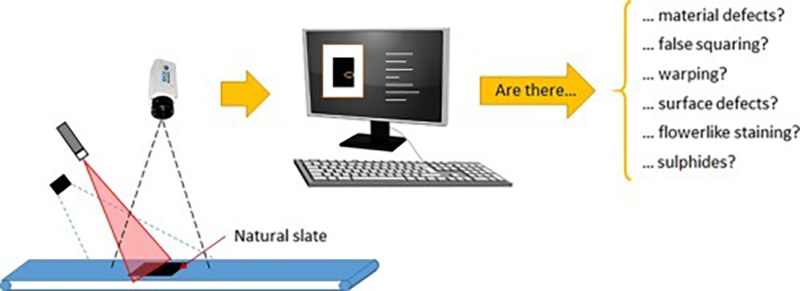
1. Intelligent structured light contour sensor
2. Project structured light onto the surface of the object to be measured, quickly establish 3D point cloud data on the surface of the object.
3. Completely collect 3D point cloud data on the object’s surface without moving the object, with a collection speed of up to 5 frames per second.
4. Suitable for 3D spatial alignment guidance of industrial robots.
5. Can be connected to PLC.

