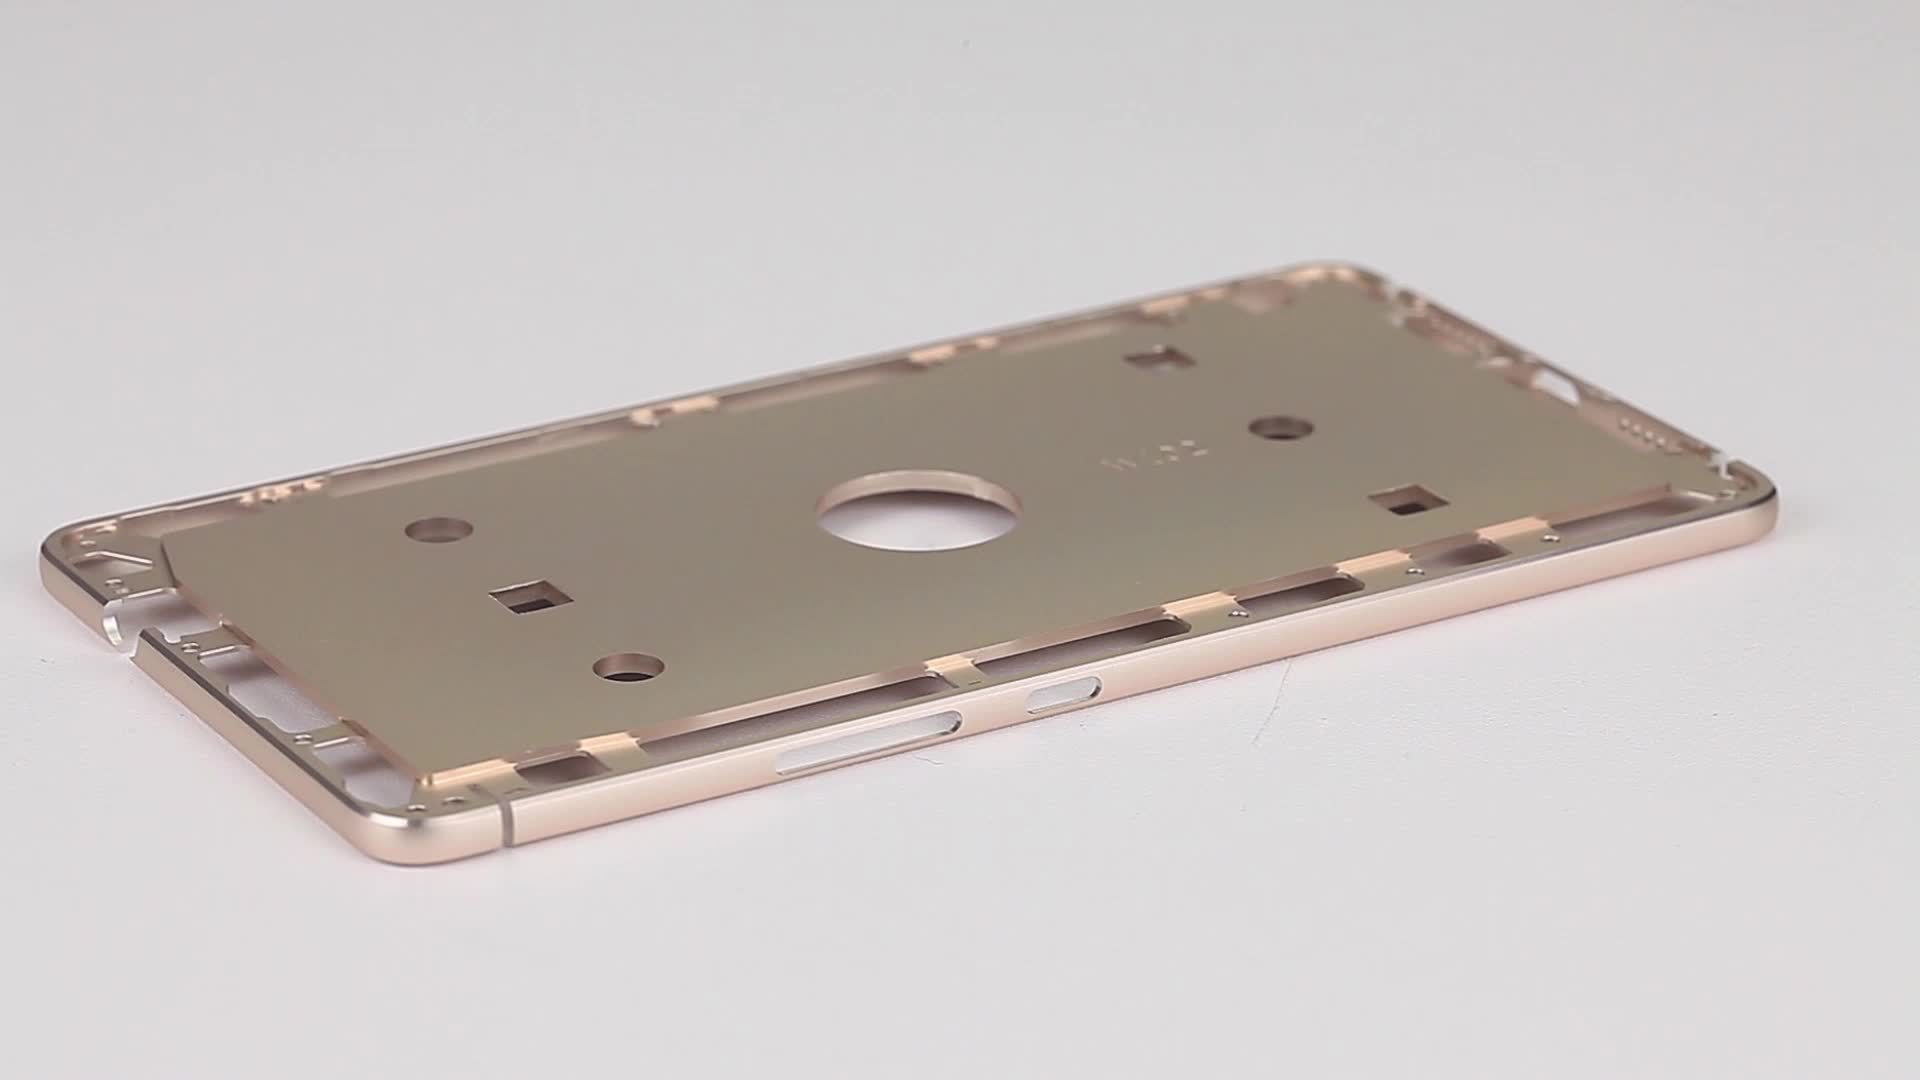
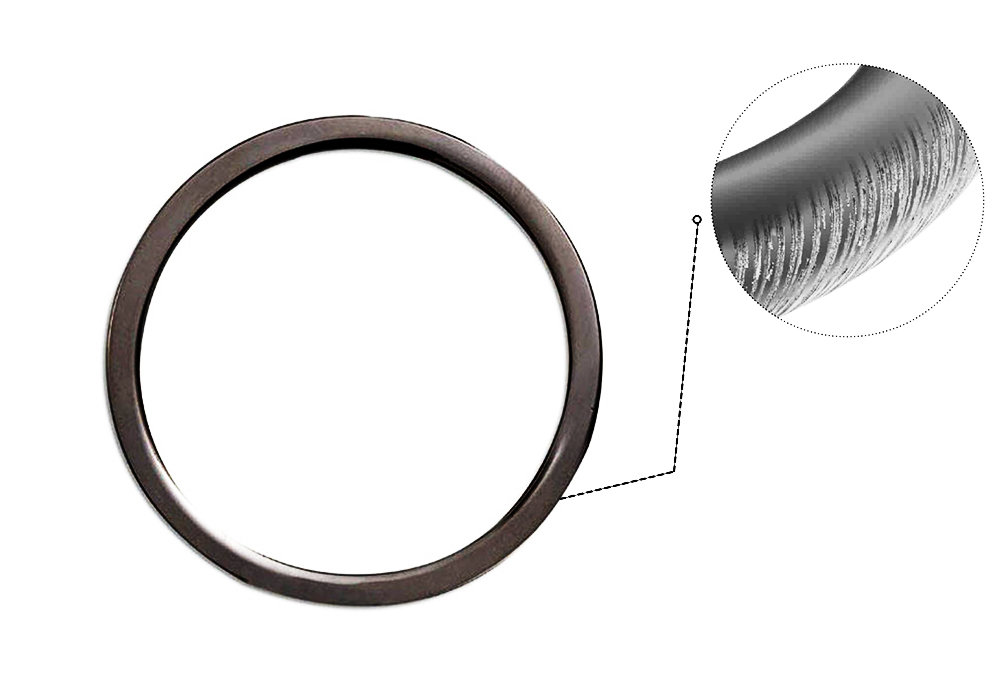
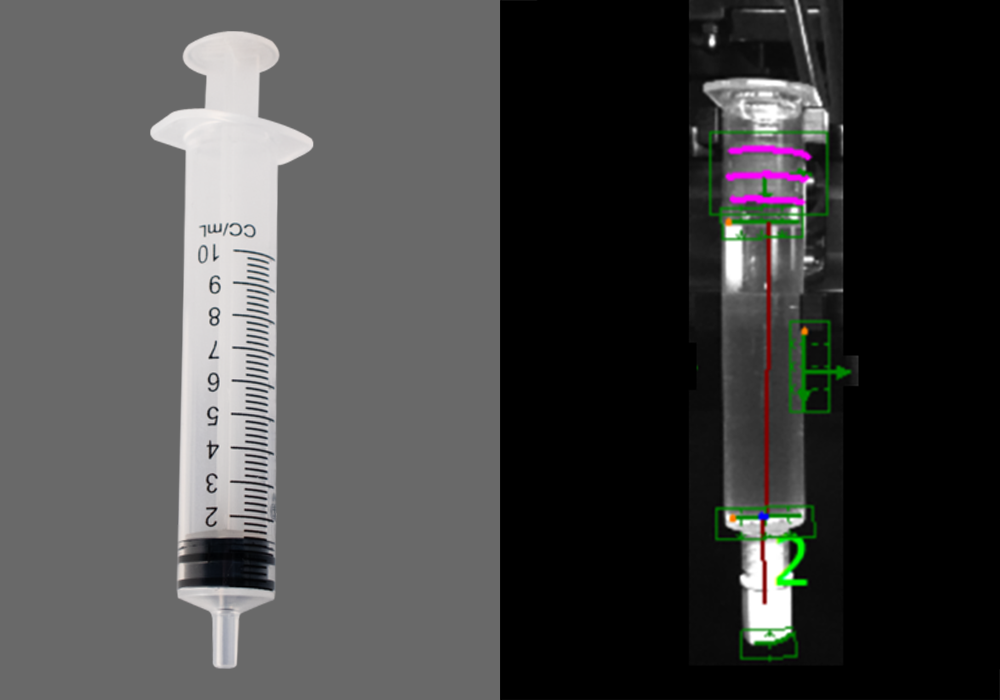
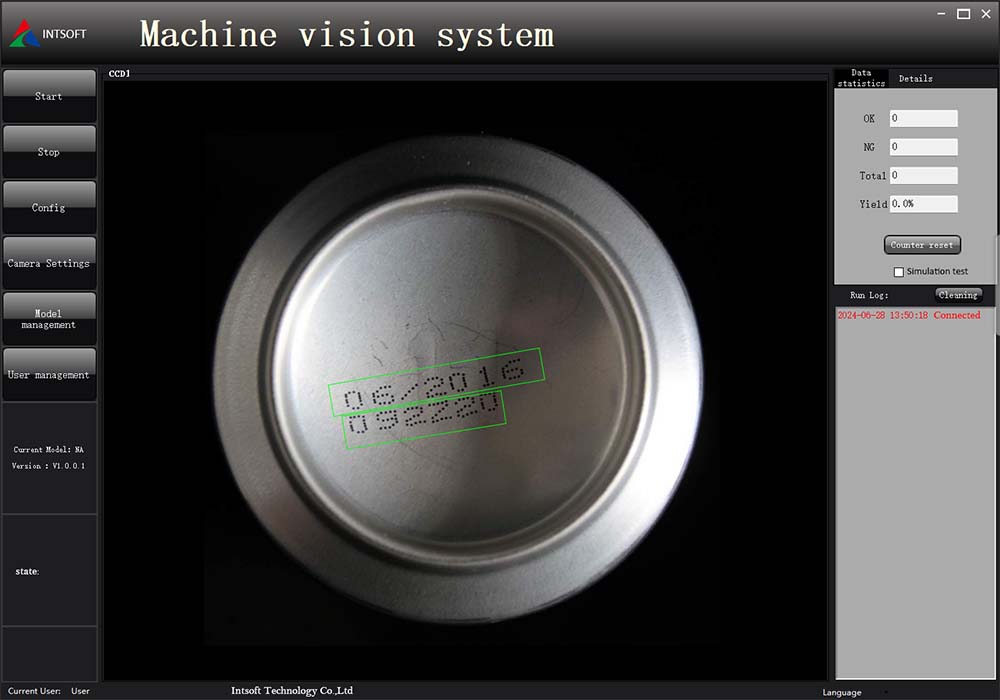
Metal button hardware accessories are used in a variety of scenarios, machinery, clothing, furniture, etc. They are usually used for decorative purposes, so there are strict requirements for the appearance of these buttons. These finished buttons are often accompanied by scratches, dirt, embossing, watermarks, deformation, white plating and other defects, etc. Intsoft Technology’s machine vision inspection system can accurately detect and sort out these defective buttons.
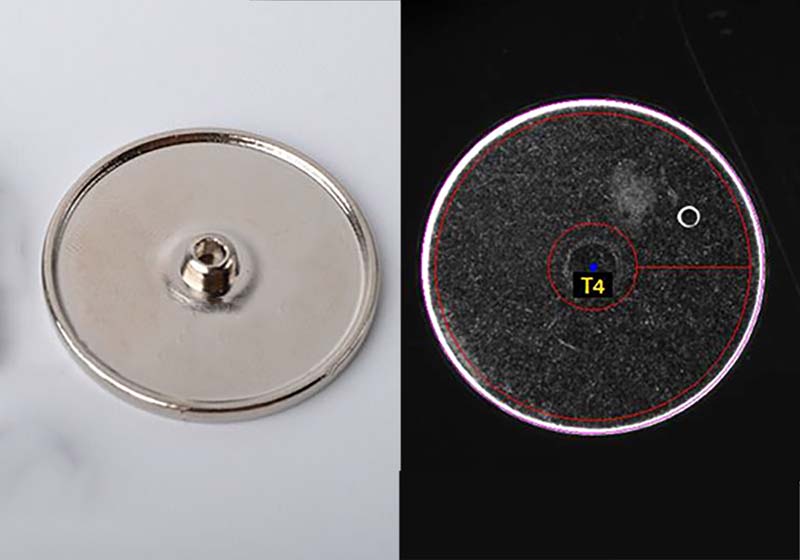
The following records the detection process.
Detection content and requirements
Area of detected sample: 2.8*10mm
Detected position: Surface
Detected items:
1. Bottom positive light surface detection
2. Top positive light surface detection
Note: The image of detected items must be clearly visible for inspection
Detection effective: 250-350 pieces per minutes (base on feeding speed)
Machine structure
Overall dimension: 900*800*1850mm
| No. | Name | Model | Quantity | Remark |
| 1 | Visual inspection software | Intsoft customized | 1 set | Data can be upload |
| 2 | Industrial computer | Intsoft customized | 1 set | |
| 3 | Monitor | PHILIPS 19 “LCD monitor | 1 set | |
| 4 | Industrial camera | Barsler industrial camera | 4 sets | 2*bottom positive light / 2*top positive light |
| 5 | Industrial lens | Intsoft customized | 4 sets | 4*FA industrial lens |
| 6 | Professional glass disc | 1 sets | ||
| 7 | Solenoid valve | 360° detectable industrial camera | 1 sets | |
| 8 | Reducer | Customized optical adaptive light source | 1 sets | |
| 9 | Vibration mechanism | Professional Optical Glass Carrier | 1 set | |
| 10 | Feeding mechanism | Panasonic | 1 set |
Detection Process
Bottom detection
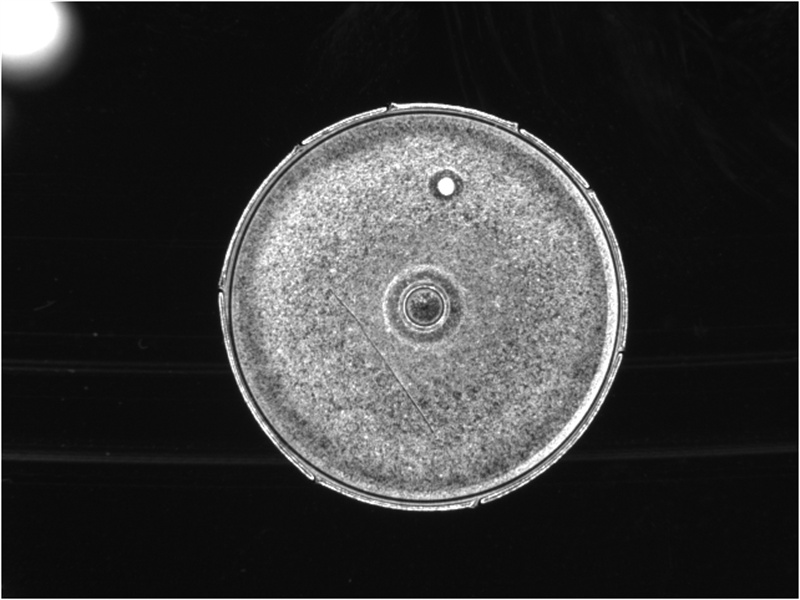
Image set 1
Bottom original image:
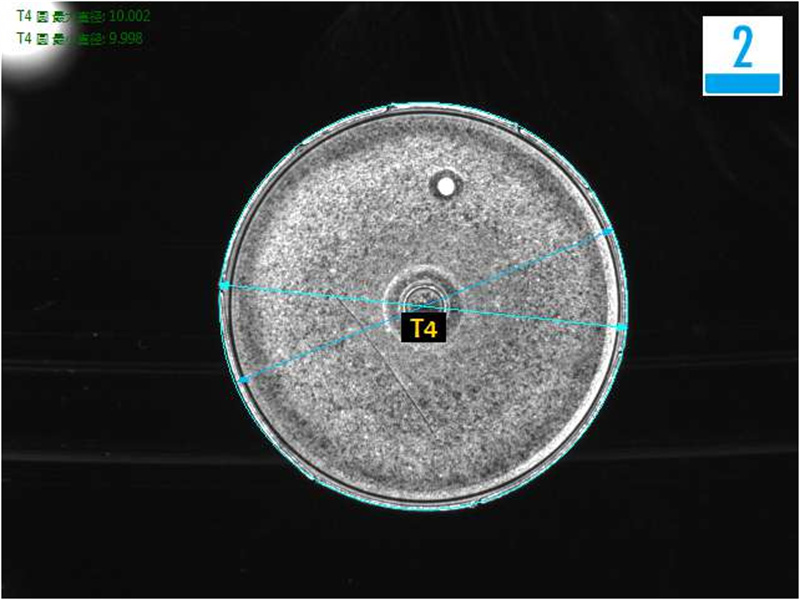
Bottom positive good product analysis image: OK —
Bottom positive defective product analysis image: NG cause of defect: warped —
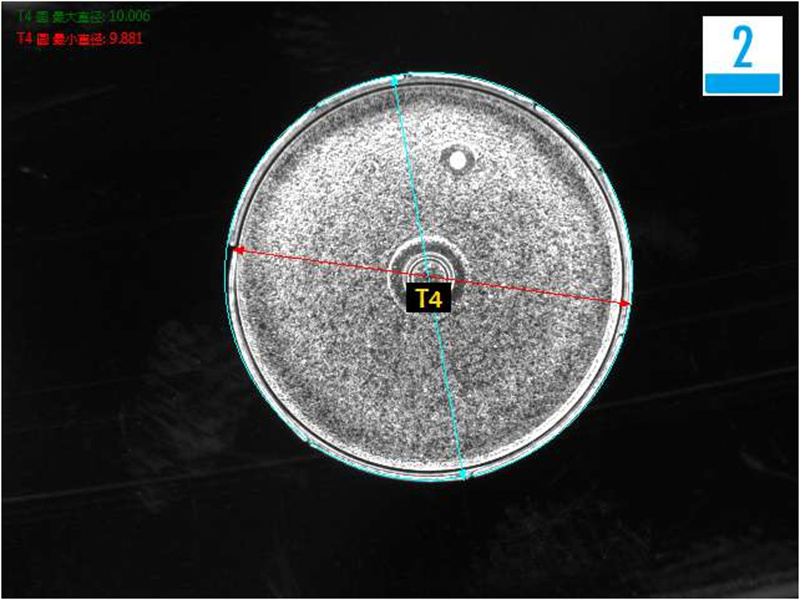
Image set 2
Bottom view original image:
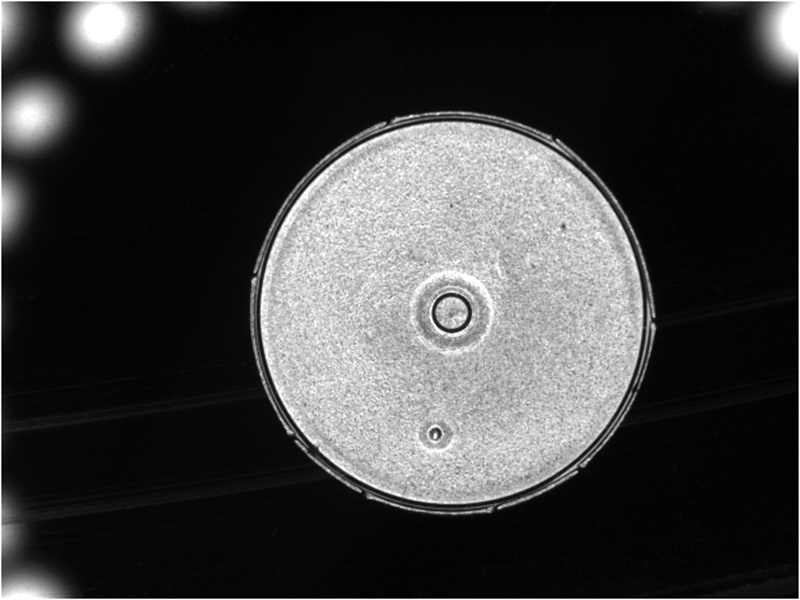
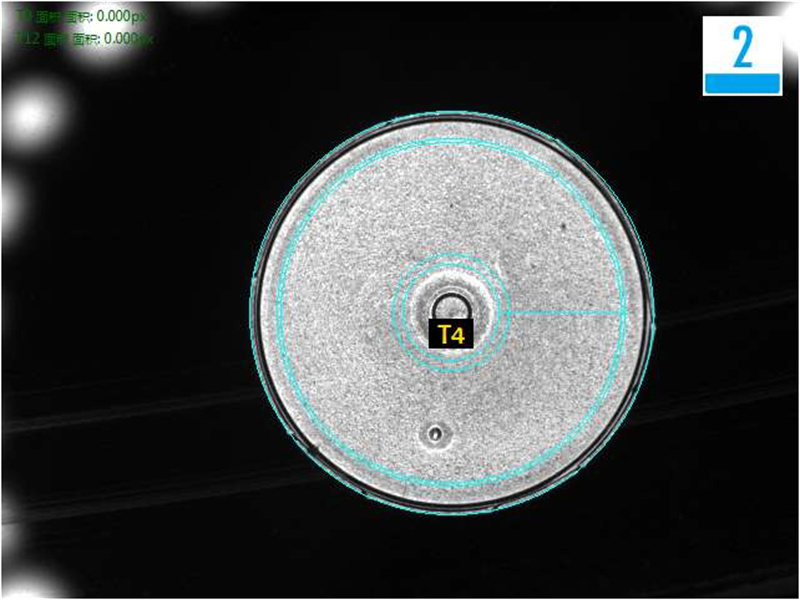
Bottom positive good product analysis image: OK —
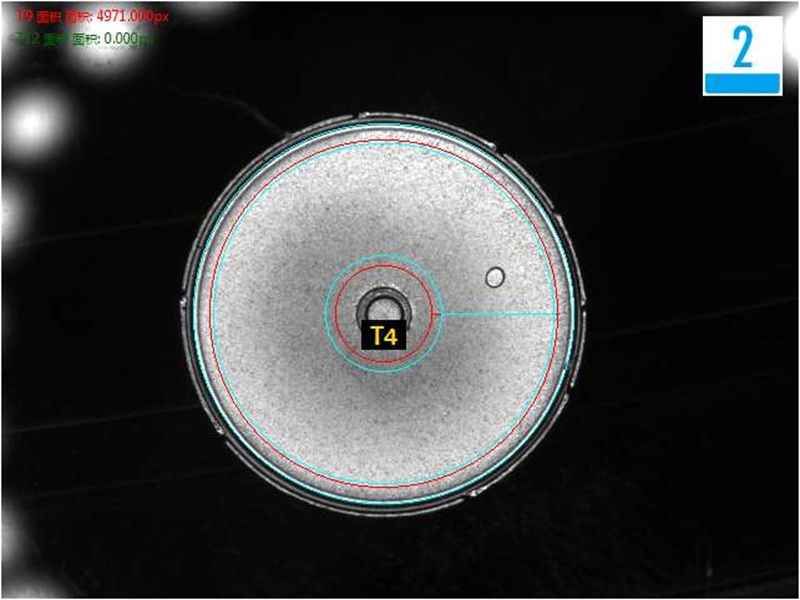
Bottom positive defective product analysis image: NG cause of defect: Plating whitening —
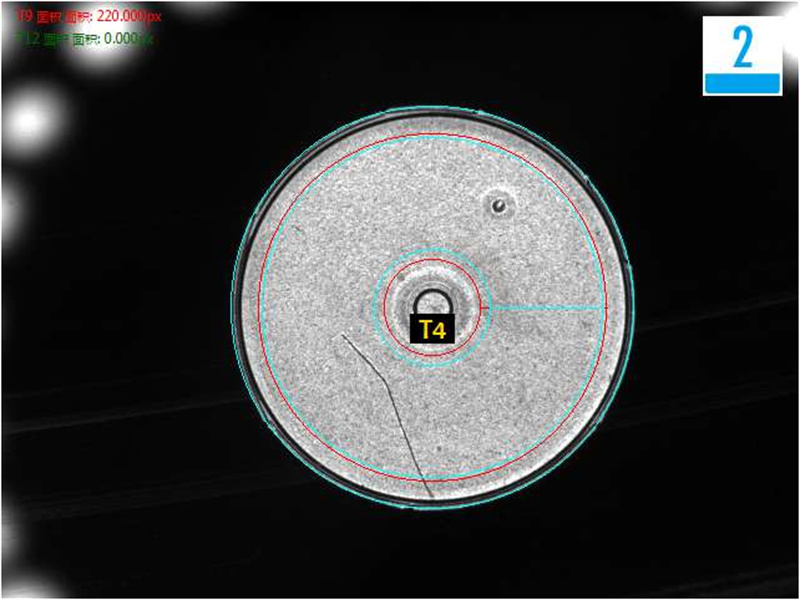
Bottom positive defective product analysis image: NG cause of defect: Scratch —
Bottom positive defective product analysis image: NG cause of defect: Watermark —
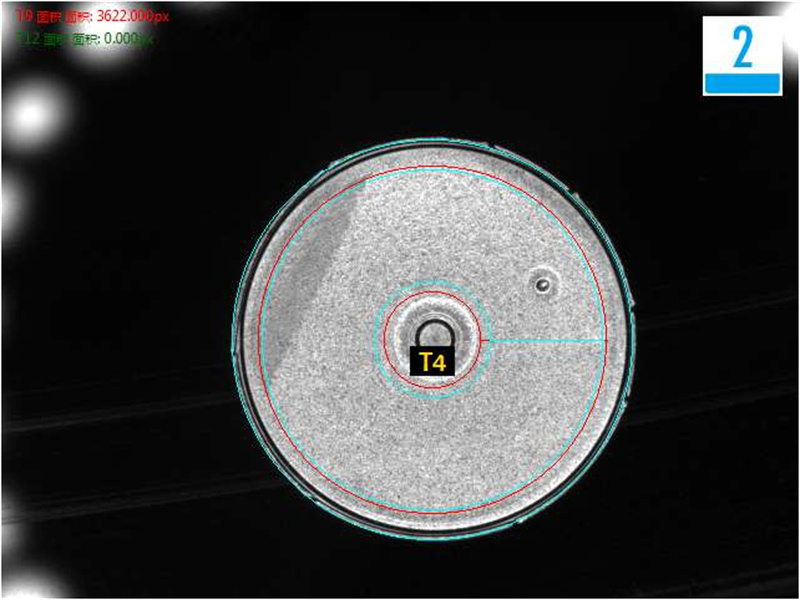
Bottom positive defective product analysis image: NG cause of defect: Stain —
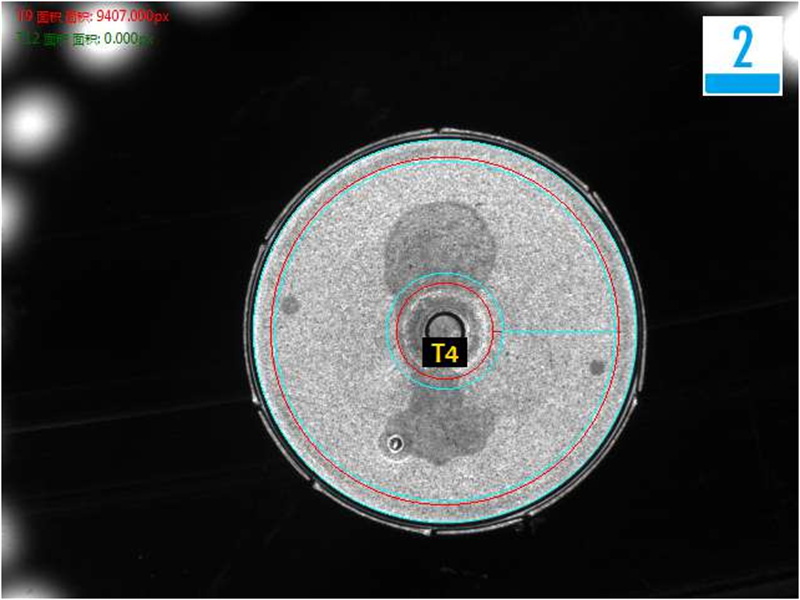
Top detection
Image set 1
Top view original image:
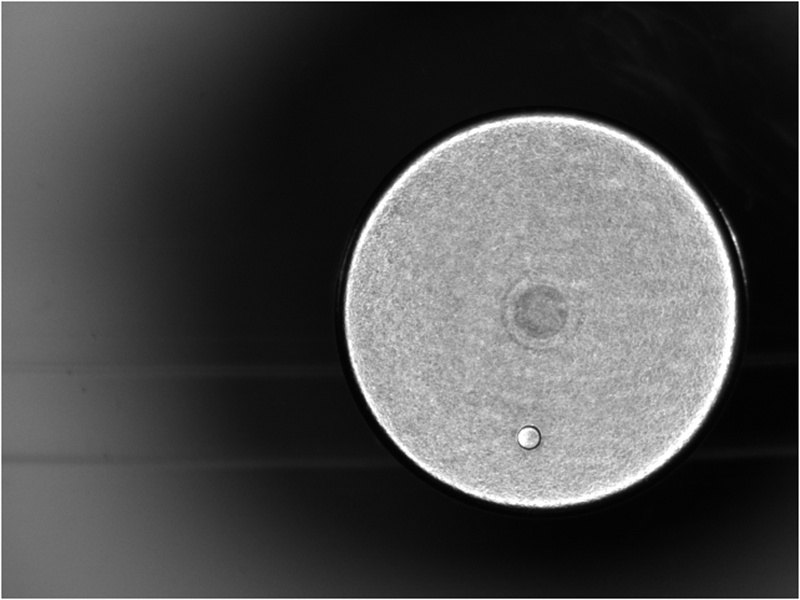
Top positive good product analysis image: OK —
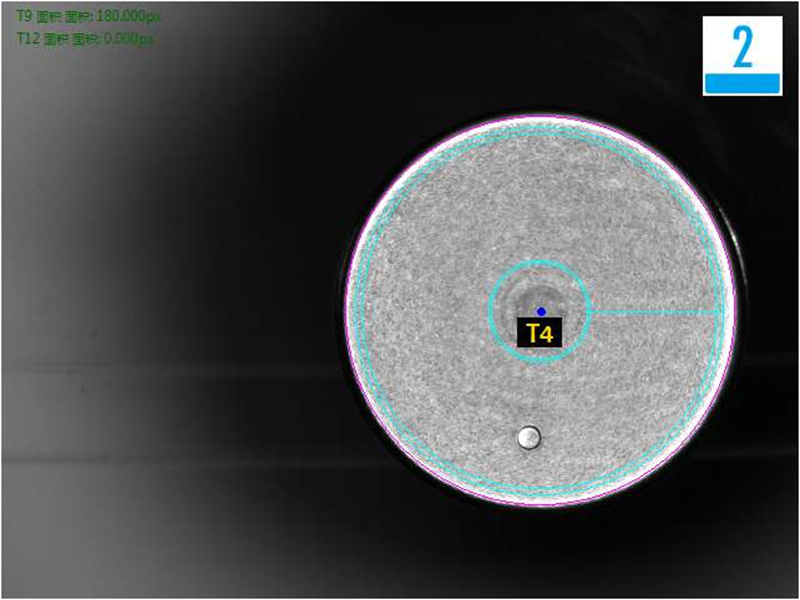
Top positive detective product analysis image: NG cause of defect: Watermark —
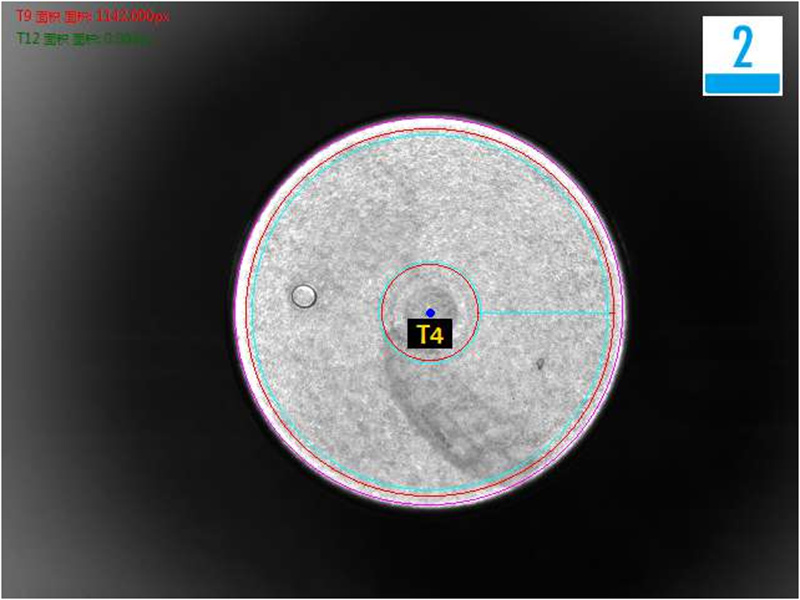
Top positive detective product analysis image: NG cause of defect: Indentation —
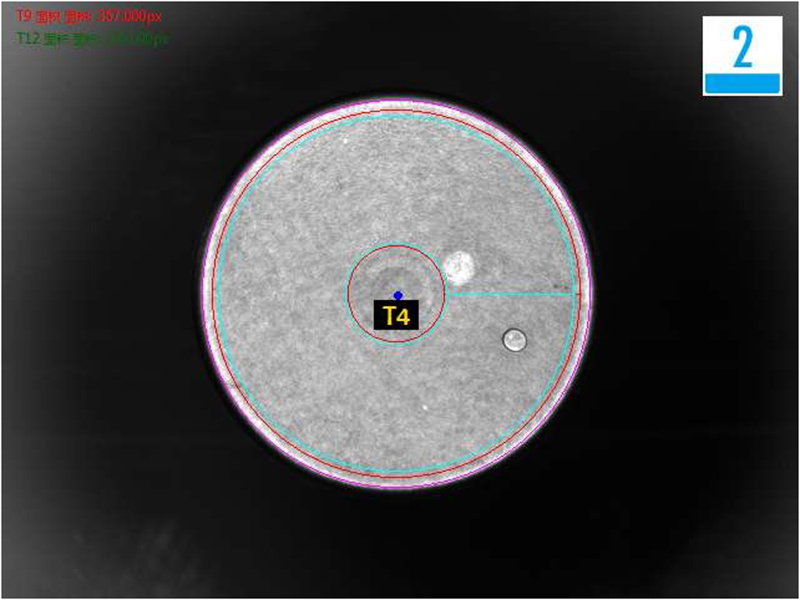
Image set 2
Top view original image:
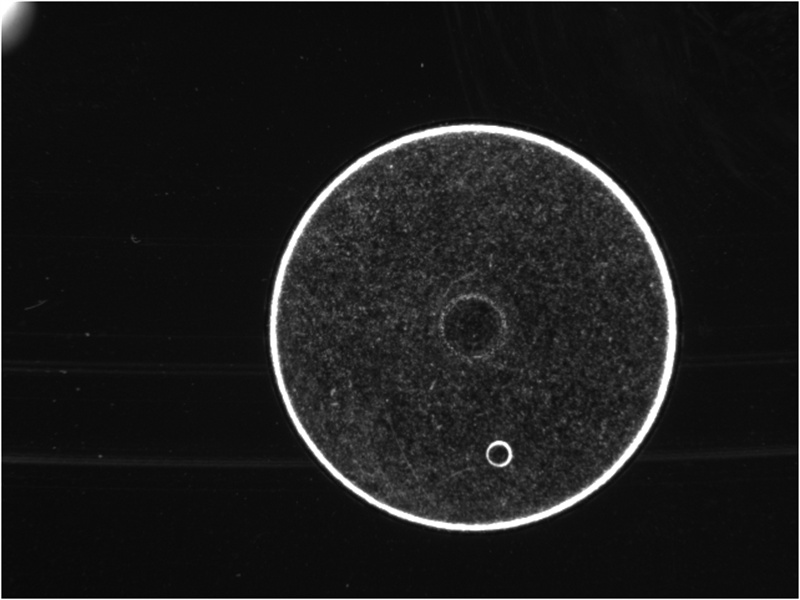
Top positive good product analysis image: OK —
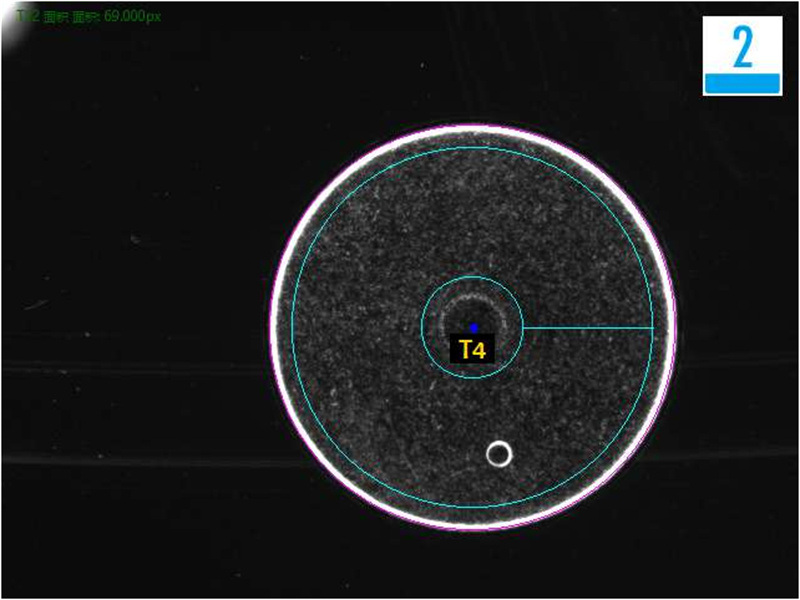
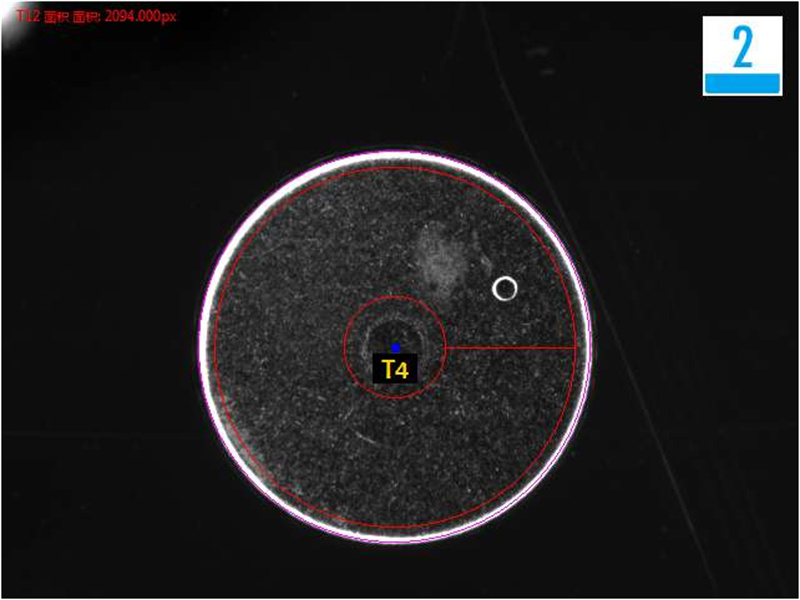
Top positive detective product analysis image: NG cause of defect: Stain —
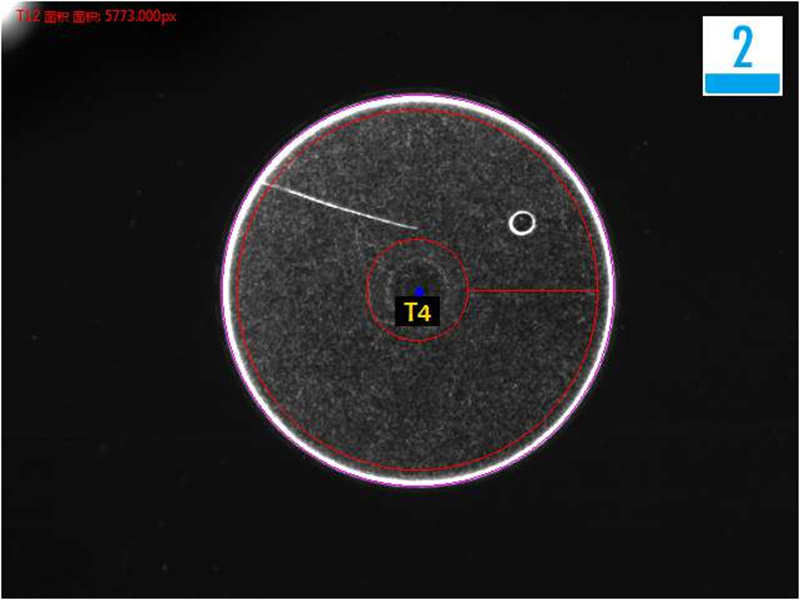
Top positive detective product analysis image: NG cause of defect: Scratch —
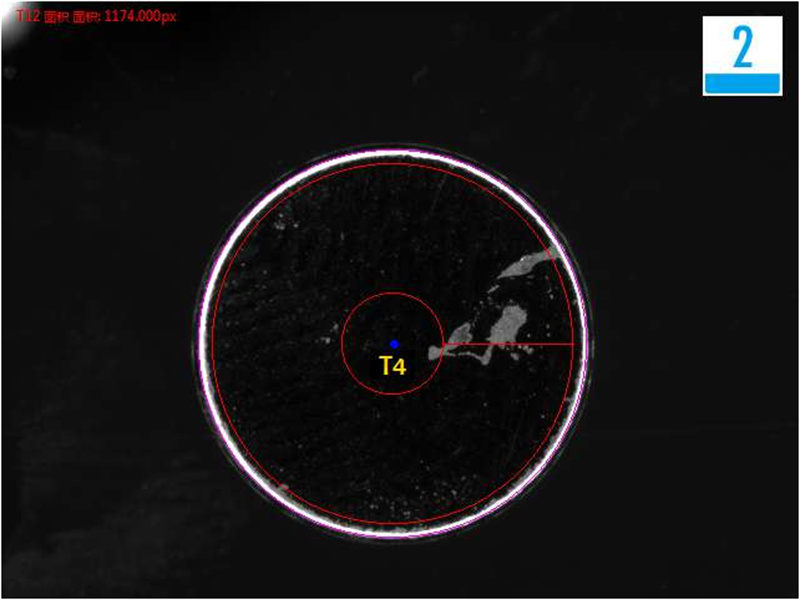
Top positive detective product analysis image: NG cause of defect: Corrosion —
System installation requirements
Equipment placed in the inspection space: In the assembly line side of the installation of Intsoft vision inspection system alone, you need to ensure that there is enough space to install the equipment.
Ambient temperature: 0-50 degrees Celsius;
Air humidity: 90% RH or less;
Electronic interference: Provide a place with less electronic interference for the equipment.
Power supply: AC 220V, 50Hz, power consumption <1KVA

