Xiaomi SU7 new energy electric car is undoubtedly a very popular car at present. According to Lei Jun, CEO of Xiaomi Automobile, the Xiaomi Automobile factory can produce 40 Xiaomi SU7 cars per hour. The overall automation rate exceeds 91%, and the automation rate of key processes reaches 100%.
How do these new energy vehicle companies use automation to achieve such a high production speed?
The following is the appearance inspection equipment of the automobile air conditioning compressor housing designed by Intsoft Tech as an example to peek into the application of automation.
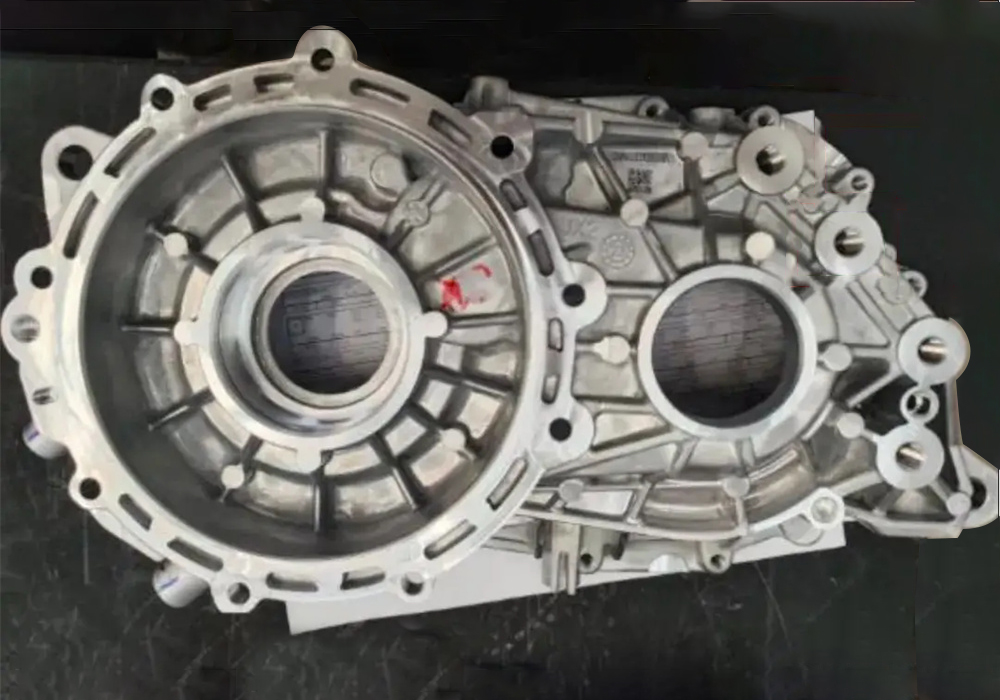
The housing of the air conditioning compressor is cast with metal, and the threads of the screw holes of the housing are tapped into the holes reserved during casting. However, in the actual automatic tapping process, since the screw holes may not be in the same plane, tapping defects and missing tapping often occur. With Intsoft Tech’s detection equipment, housing threads can be detected and defective housings can be screened. The following is a detection case.
Inspection requirements
It is required to accurately detect whether there are threads in the screw holes of product components and to inspect the integrity of the threads. If there are threads and threads are complete, an OK signal is executed and the product enters the next process inspection; if there are no threads in the screw holes, no holes or defective threads, an alarm signal is output to the mechanical actuator to remove defective products.
Inspection process:
1. Frontal height difference hole inspection
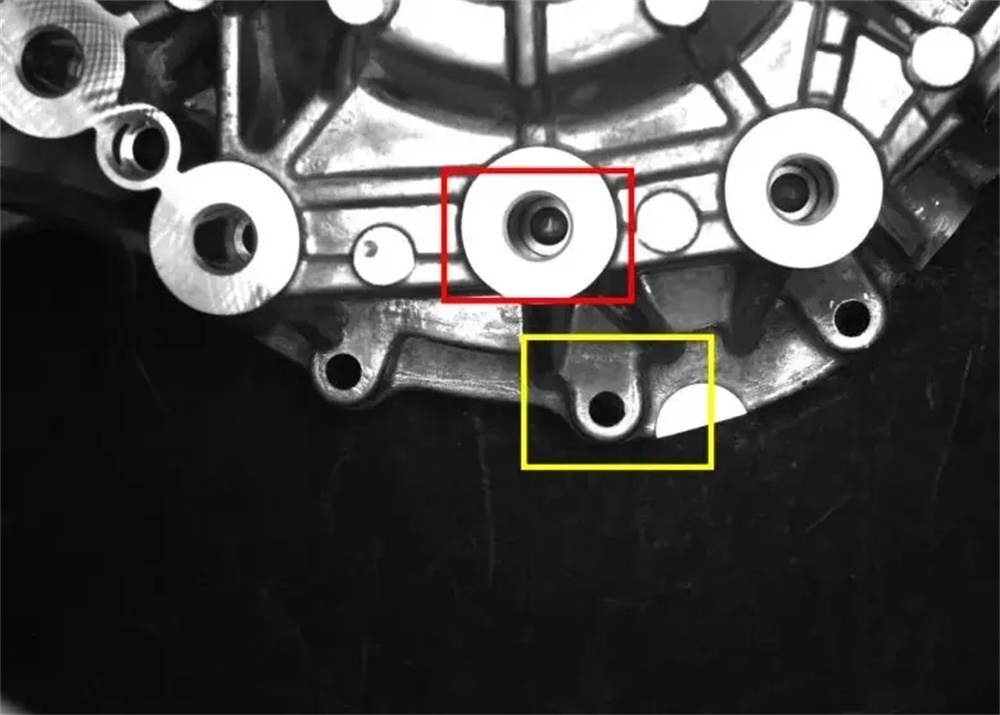
This station inspection is a camera that detects two holes at the same time, and there is a height difference of about 5cm between the two holes and the size of the holes is quite different. The depth of field must be taken into account when imaging.
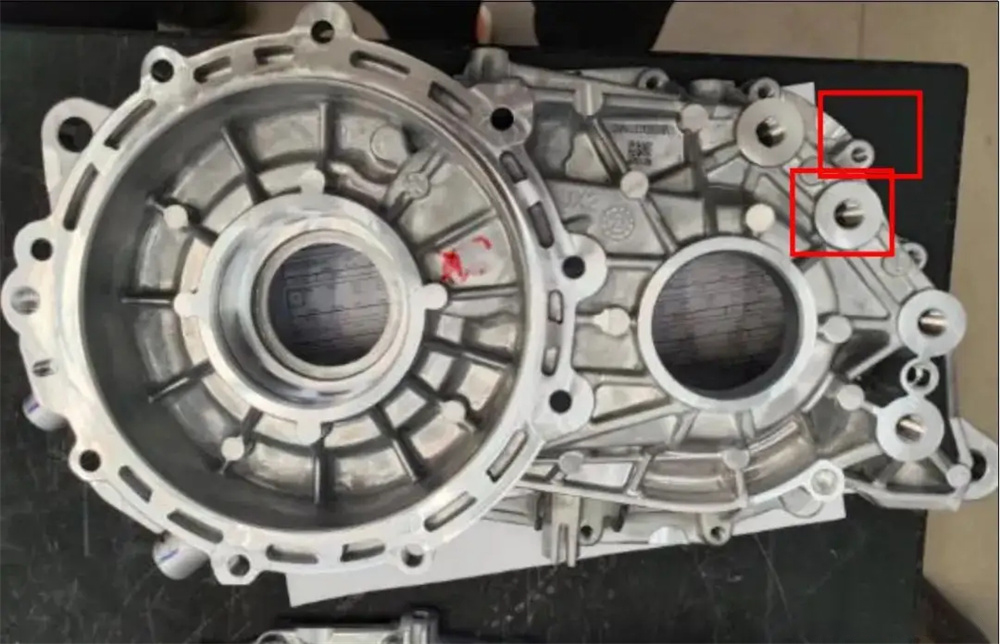
2. Side single raised hole inspection
Single hole inspection, large size
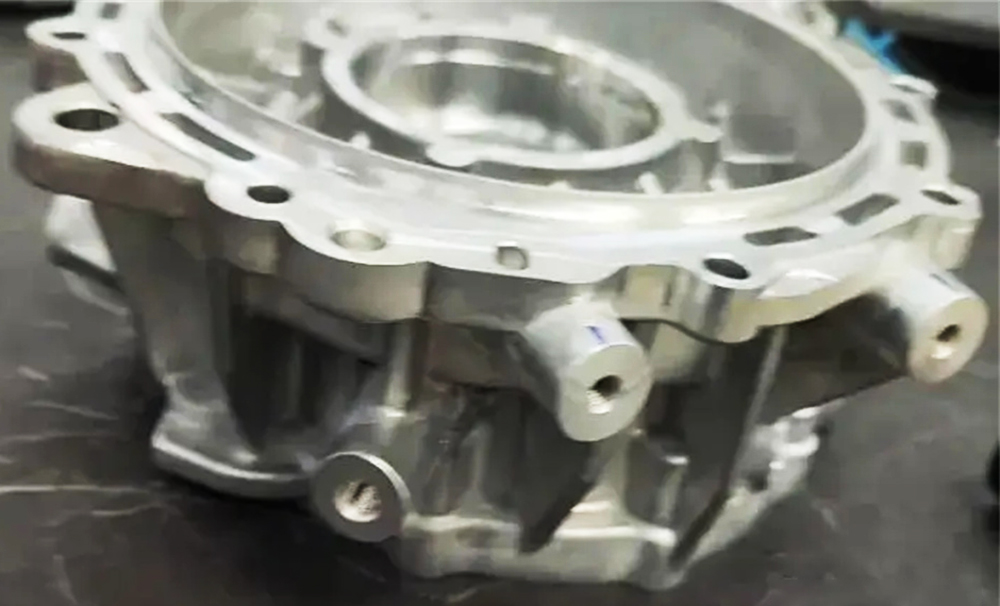
Two holes with a large angle deviation on the side, the two holes are raised in two directions respectively, and the size of the holes is not much different.
Detection method
After building a vision mechanism to inspect the sample image, the above hardware configuration can achieve good imaging effects, and then analyze the imaging image through detection algorithms to obtain detection results that meet the requirements.
Using Cognex visual sensors, the test run detected 10,000 products with 0 abnormalities, it has now been officially put into use in large quantities.
1. Cutting inspection station for front holes
The light source should face the workpiece, and the camera light source and the workpiece should be kept vertical as much as possible.
2. Inspection stations for single and two holes with different directions
The installation distance is 200 ± 20mm, and the installation angle (high angle) between the camera and the workpiece needs to be determined according to the actual installation position. For hole detection with step difference, the installation distance is 270 ± 20mm, and the installation angle between the camera and the workpiece needs to be determined according to the actual installation position.
Imaging effect
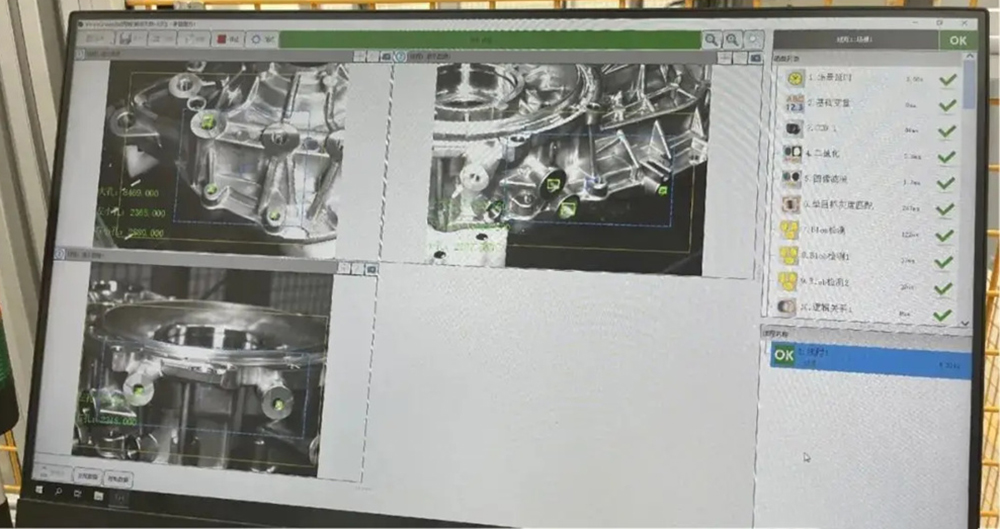
OK, inspecting the two screw holes with a height difference, with threads and intact:
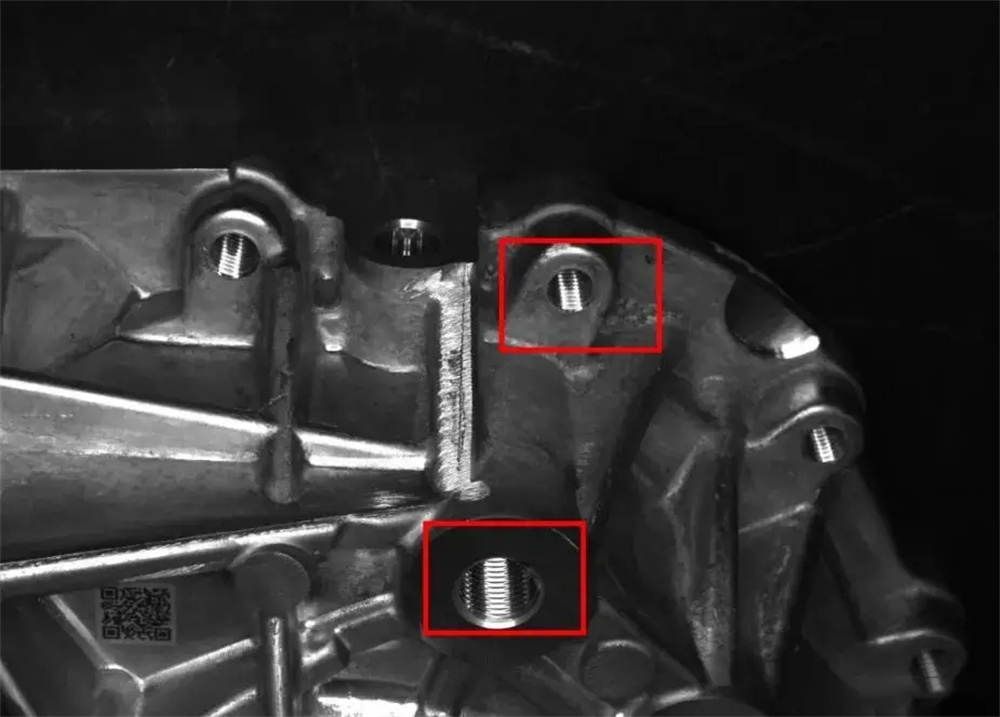
NG, inspecting the two screw holes with a height difference, no threads:
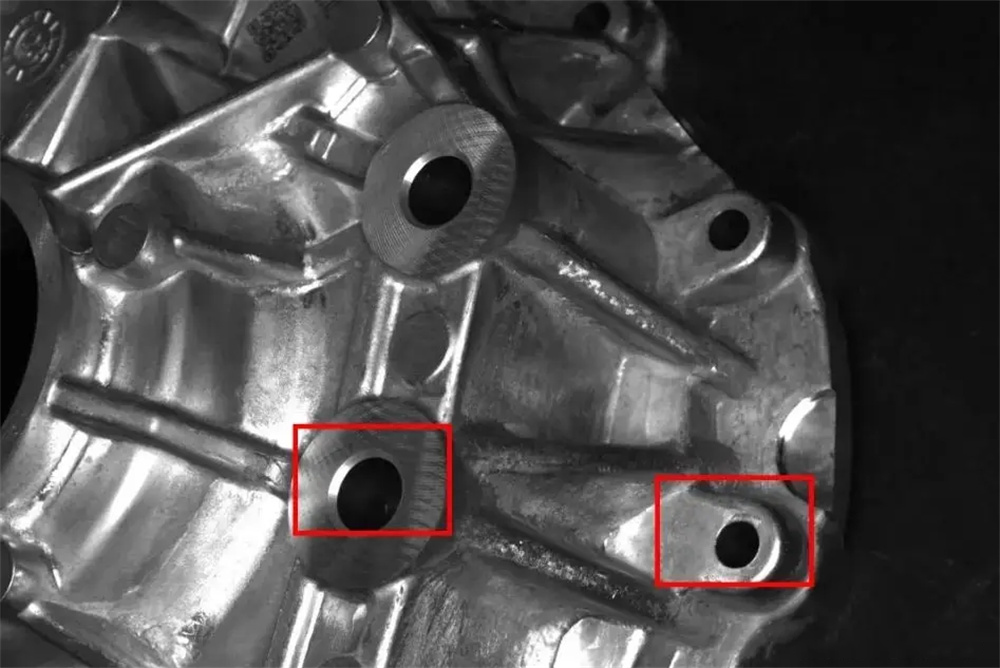
OK, inspecting the two screw holes with a height difference, with threads and intact:
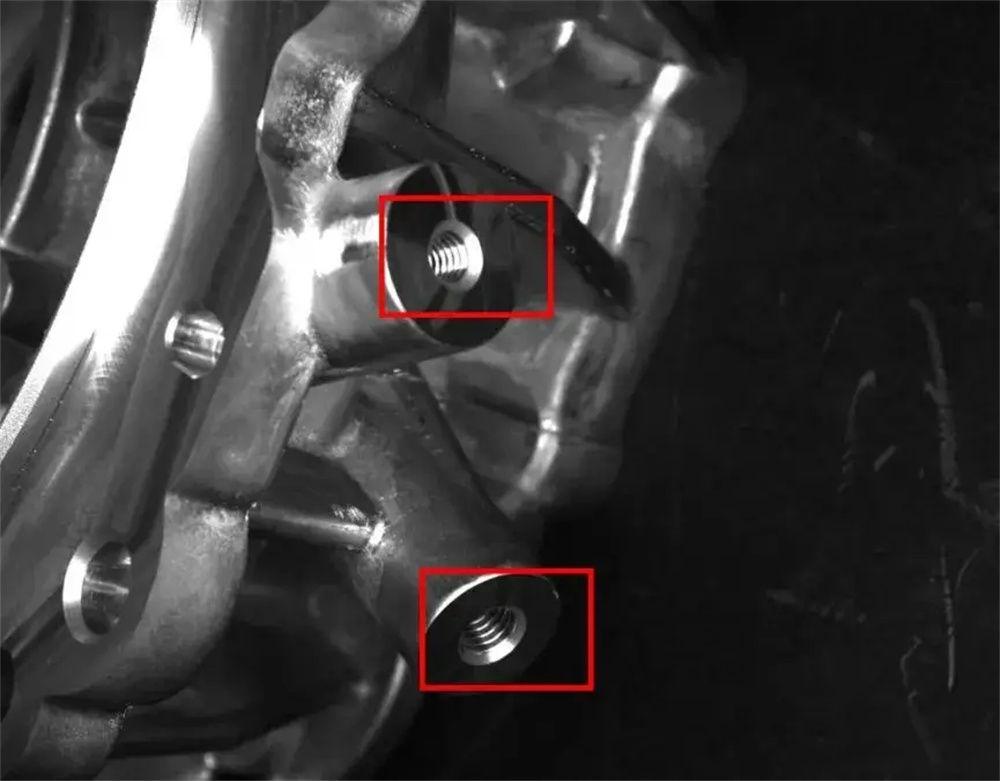
NG, screw hole in red frames are tapped, and screw hole in yellow frames are not tapped:
